Last dungeon. Ten chests, 5 bosses, a secret room with the strongest sword in the game, and the Emperor at the end. Pandaemonium is Hell's fortress and it doesn't waste your time. You stepped on that purple telepad in the Jade Passage. No going back.
Into the Fortress
1F. A single winding path along the outer edge. Follow it around and up the stairs at the end. Nothing to grab here.
2F. Go left, then all the way down. When you can't go further, head left and take the first path up. Chest 1 (Ether) is at the top. Head back down, take the left route, and follow it around. Two paths going up appear; take the right one. Step on the purple telepad.
3F. Head down from the telepad and go right. Work around the wall to find chest 2 (Elixir). Backtrack past the telepad, go to the top, then head right and down. Take the left route when it appears and follow the path through a natural gap in the wall. The second purple telepad is at the end.
This telepad drops you into the room with four doors. Here's where the real dungeon starts.
The Four Doors
Four doors, four bosses, four pieces of endgame equipment. Take them in order: Door 1 (far left), Door 2, Door 4 (far right), then Door 3. Door 1 has the Masamune hidden inside, and you want that sword before the harder bosses. Use Warp to return to this room after each fight.
Door 1. Take the far-left door. Follow the path down, go left, then up. The path splits; go right. It splits again almost immediately; go left this time. Looks like a dead end, but walk through the gap in the wall. Head up, go through another wall gap to the right. Chest 3 is right there.
After the fight, don't Warp out yet. The Masamune is hidden in this same wing.
Equip the Masamune on Guy alongside Excalibur. That's the strongest weapon combination in FF2. Now Warp back to the four-doors room.
Door 2: Tiamat
Second door from the left. Head left and up, then right. When you reach the open area, hug the left wall going up the steps. In the top-left corner, walk through a gap in the wall. Go up through the archway to a small room you could see earlier but couldn't reach. Chest 5 is inside.
Tiamat absorbs four elements. If you don't have Flare or Ultima leveled, physical attacks are your only option. But Blood Sword on Leon deals consistent damage while keeping him alive. Warp back after winning.
Door 4: Beelzebub
Skip Door 3 for now; take the far-right door. Head right and then all the way up to the end of the path. Chest 6 is there.
Straightforward fight compared to what's next. Warp back.
Door 3: Astaroth
Third door from the left. Follow the path around to the stairs. Go to the top of the small open area. There's a pathway going up, but ignore it. Instead, go to the top-left corner and walk through the wall. Chest 7 is right in front of you.
The Ribbon negates every status effect in the game. Put it on whoever gets targeted most. Astaroth is the wall that stops underprepared parties. If you skipped the Blood Sword back in Paul's house? This is where you feel it.
After winning, go left from the chest. There's a path going up; ignore it and walk through another gap in the wall. Go left, skip the narrow path down, and take the wider path down (hug the right wall). When you see a wall on your left, walk through it. A purple telepad is right there. Step on it.
The Final Climb
You're back in the four-doors area, but the doors are sealed now. Follow the single path up and right to the next telepad.
In the next area, go left to the wall and up to grab chest 8 (Sage's Wisdom). Head down, take the left path, and go up the stairs. Follow the path along the outer edge of the floor.
At the end of the outer path, step on the next telepad. Go slightly down and head right. Follow the path down and all the way to the bottom-right corner for chest 9 (Acid Phial). Go back the other way. You'll see a narrow staircase and a wider staircase next to each other. Take the narrow one. Chest 10 (Acid Phial) is at the top corner. That's 234 of 234. Every chest in the game.
Head right from the last chest, down the stairs, and continue right. The telepad to the next area is at the top. Step through. Go left to the wall, then all the way down to another telepad. One more warp.
The Emperor
Walk straight up. The Emperor of Hell is waiting.
Haste your Blood Sword user first. The sword deals percentage-based damage that ignores his defenses, so Leon's output stays high even when the Emperor buffs up. Blink on everyone to dodge physical attacks. If he casts Dispel, reapply Blink and Shell immediately. Curse halves your stats; keep a backup plan ready if it lands on your healer.
Without the Blood Sword, this fight takes much longer. His physical defense is high and Flare XVI hits hard. Stack Protect, Shell, and Blink on everyone. Pound him with Ultima, Flare, or non-elemental damage. Bring plenty of Ethers.
The Emperor falls. Pandaemonium crumbles. Save after the credits for the Wars End trophy. If you grabbed everything, your completion screen reads 128/128, 234/234, 27/27, 15/15.
Enemy Encounters
19
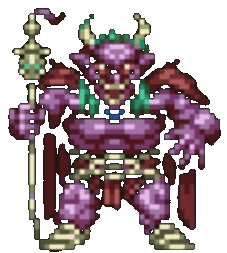
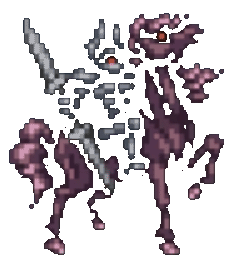
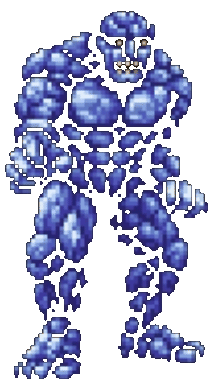
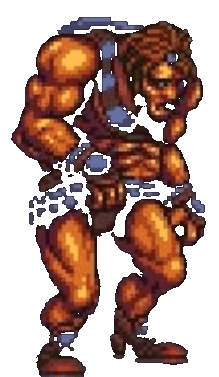
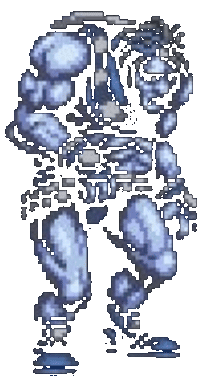
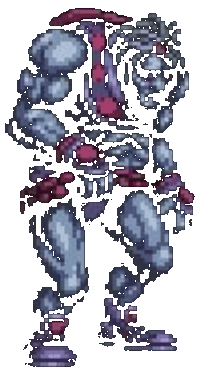
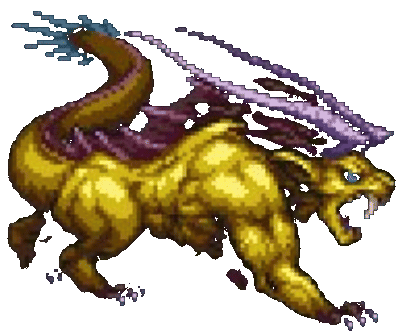
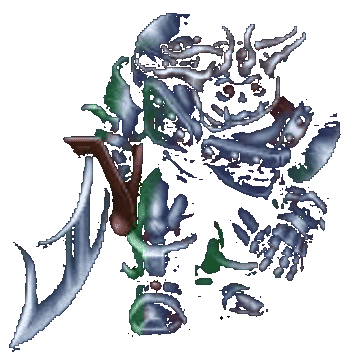
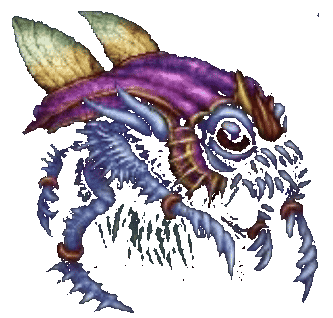
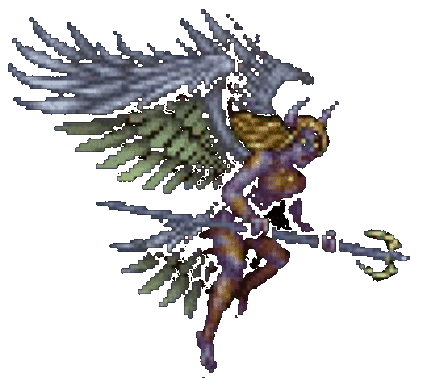
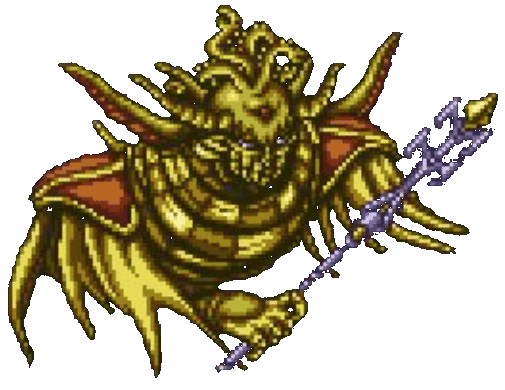
19 enemy types in Pandaemonium. 11 are new to this dungeon. Zombie Borghen, Tiamat, Beelzebub, and Astaroth are chest bosses. The Emperor is the story fight. Iron Giant is a rare floor encounter below the pillars.





Treasure Chests
10
10 chests total. The Genji set (Gloves, Helm, Armor) comes from the four door bosses, plus the Ribbon from Astaroth. Masamune is in a hidden room in the Door 1 area. Chest 10 is the final chest in the entire game.
| Item | Location |
|---|---|
Ether | 2F, up and left from entrance |
Elixir | 3F, right path after first telepad |
Genji Gloves | Door 1 area, behind hidden walls (Zombie Borghen) |
Masamune | Door 1 area, SECRET hidden room top-right |
Genji Helm | Door 2 area, through wall shortcut (Tiamat) |
Genji Armor | Door 4 area, end of path (Beelzebub) |
Ribbon | Door 3 area, gap in wall top-left (Astaroth) |
Sage's Wisdom | Upper floor after telepads |
Acid Phial | Near stairs, upper area |
Acid Phial | Top corner near narrow stairs (final chest!) |