After getting the Sunfire from Kashuan Keep, return to Altair. The hideout is in chaos. Hilda was captured when the Dreadnought attacked Cid's airship. Cid is also a prisoner. Time to infiltrate the warship, rescue them both, and blow it up.
Boarding the Dreadnought
Head northwest from Altair. It's a long walk through the mountains. Eventually you'll reach the Dreadnought's landing site. Show the guards the Pass you grabbed from Bafsk Cave to board.
If you missed the Pass, use the Wild Rose keyword on the guard to fight your way in. Be warned: other guards turn hostile if you talk to them after forcing entry.
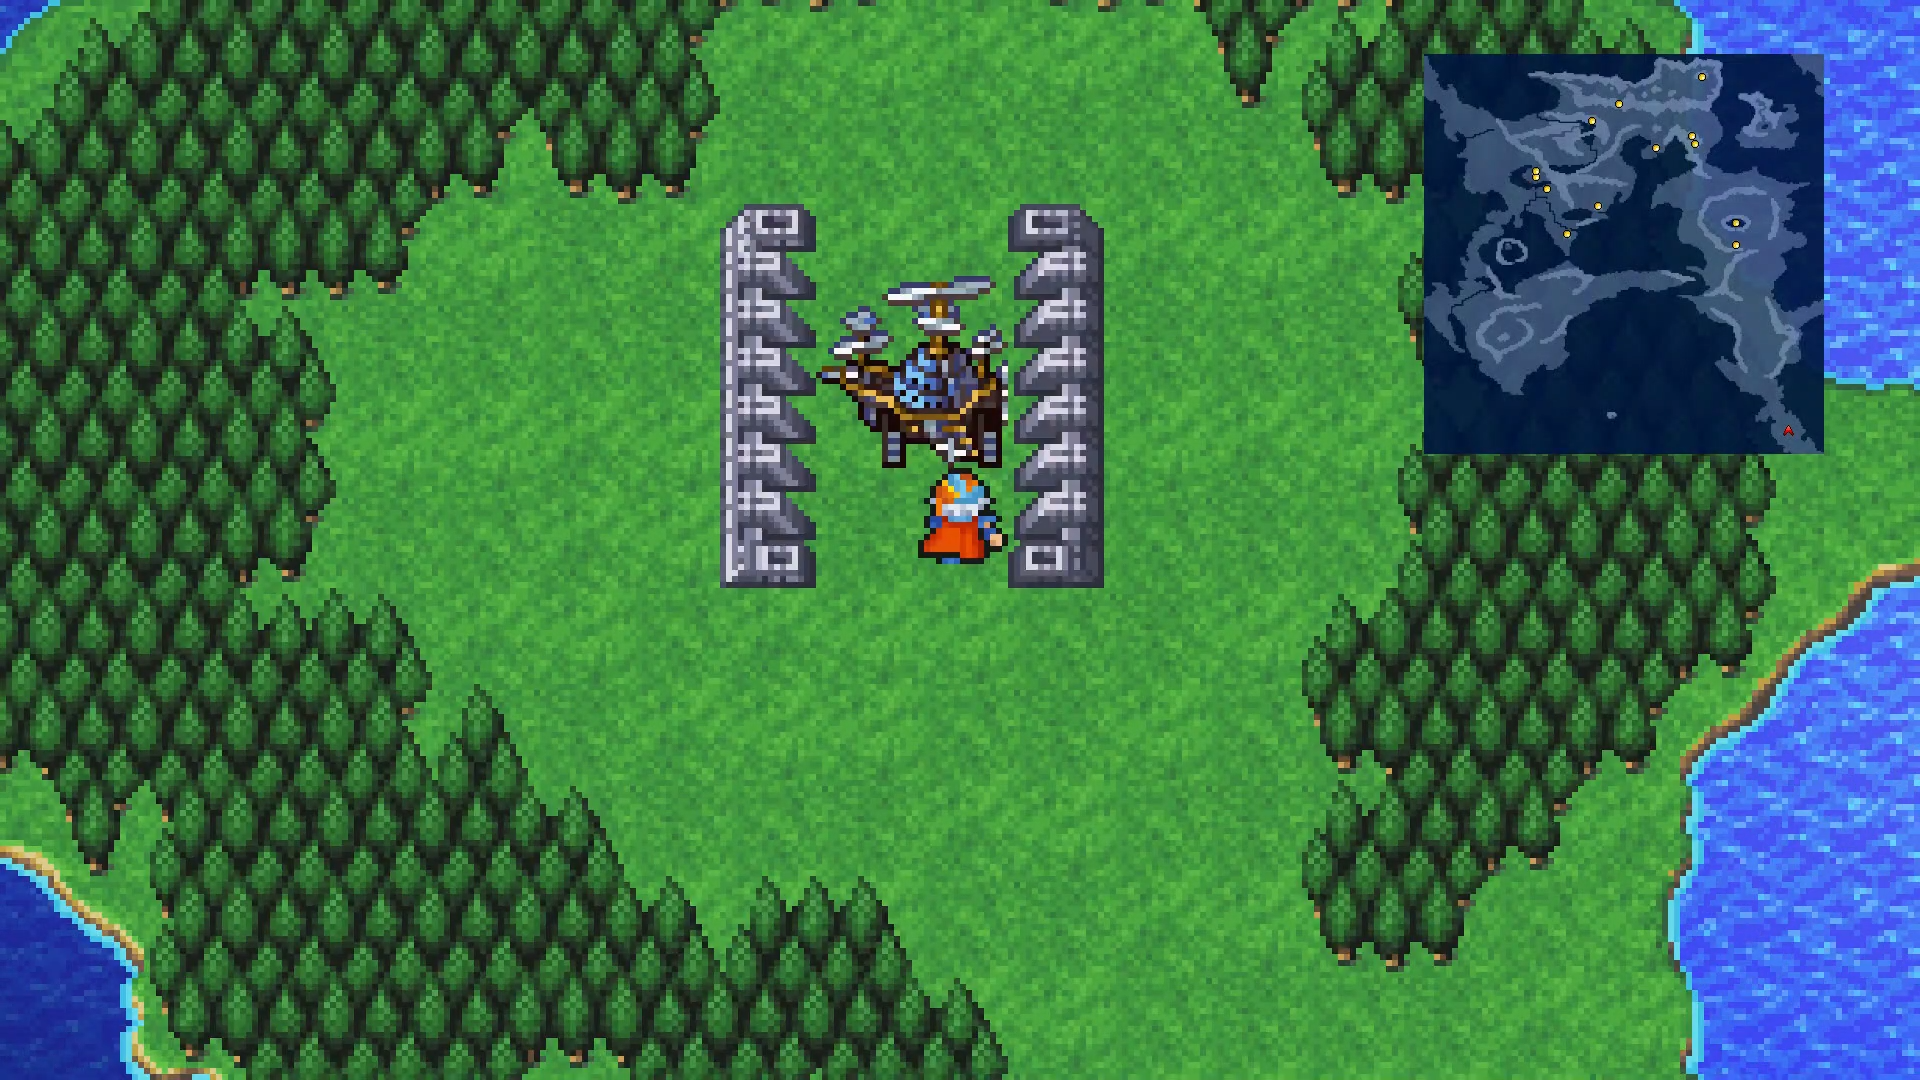
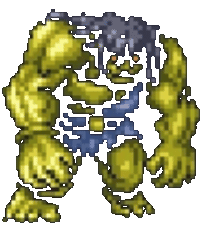
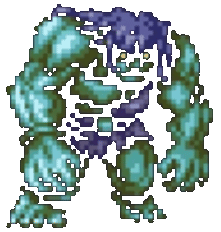
The Dreadnought has 5 floors, 10 chests, and no bosses. Hill Gigas roams the halls and hits hard.
Dreadnought
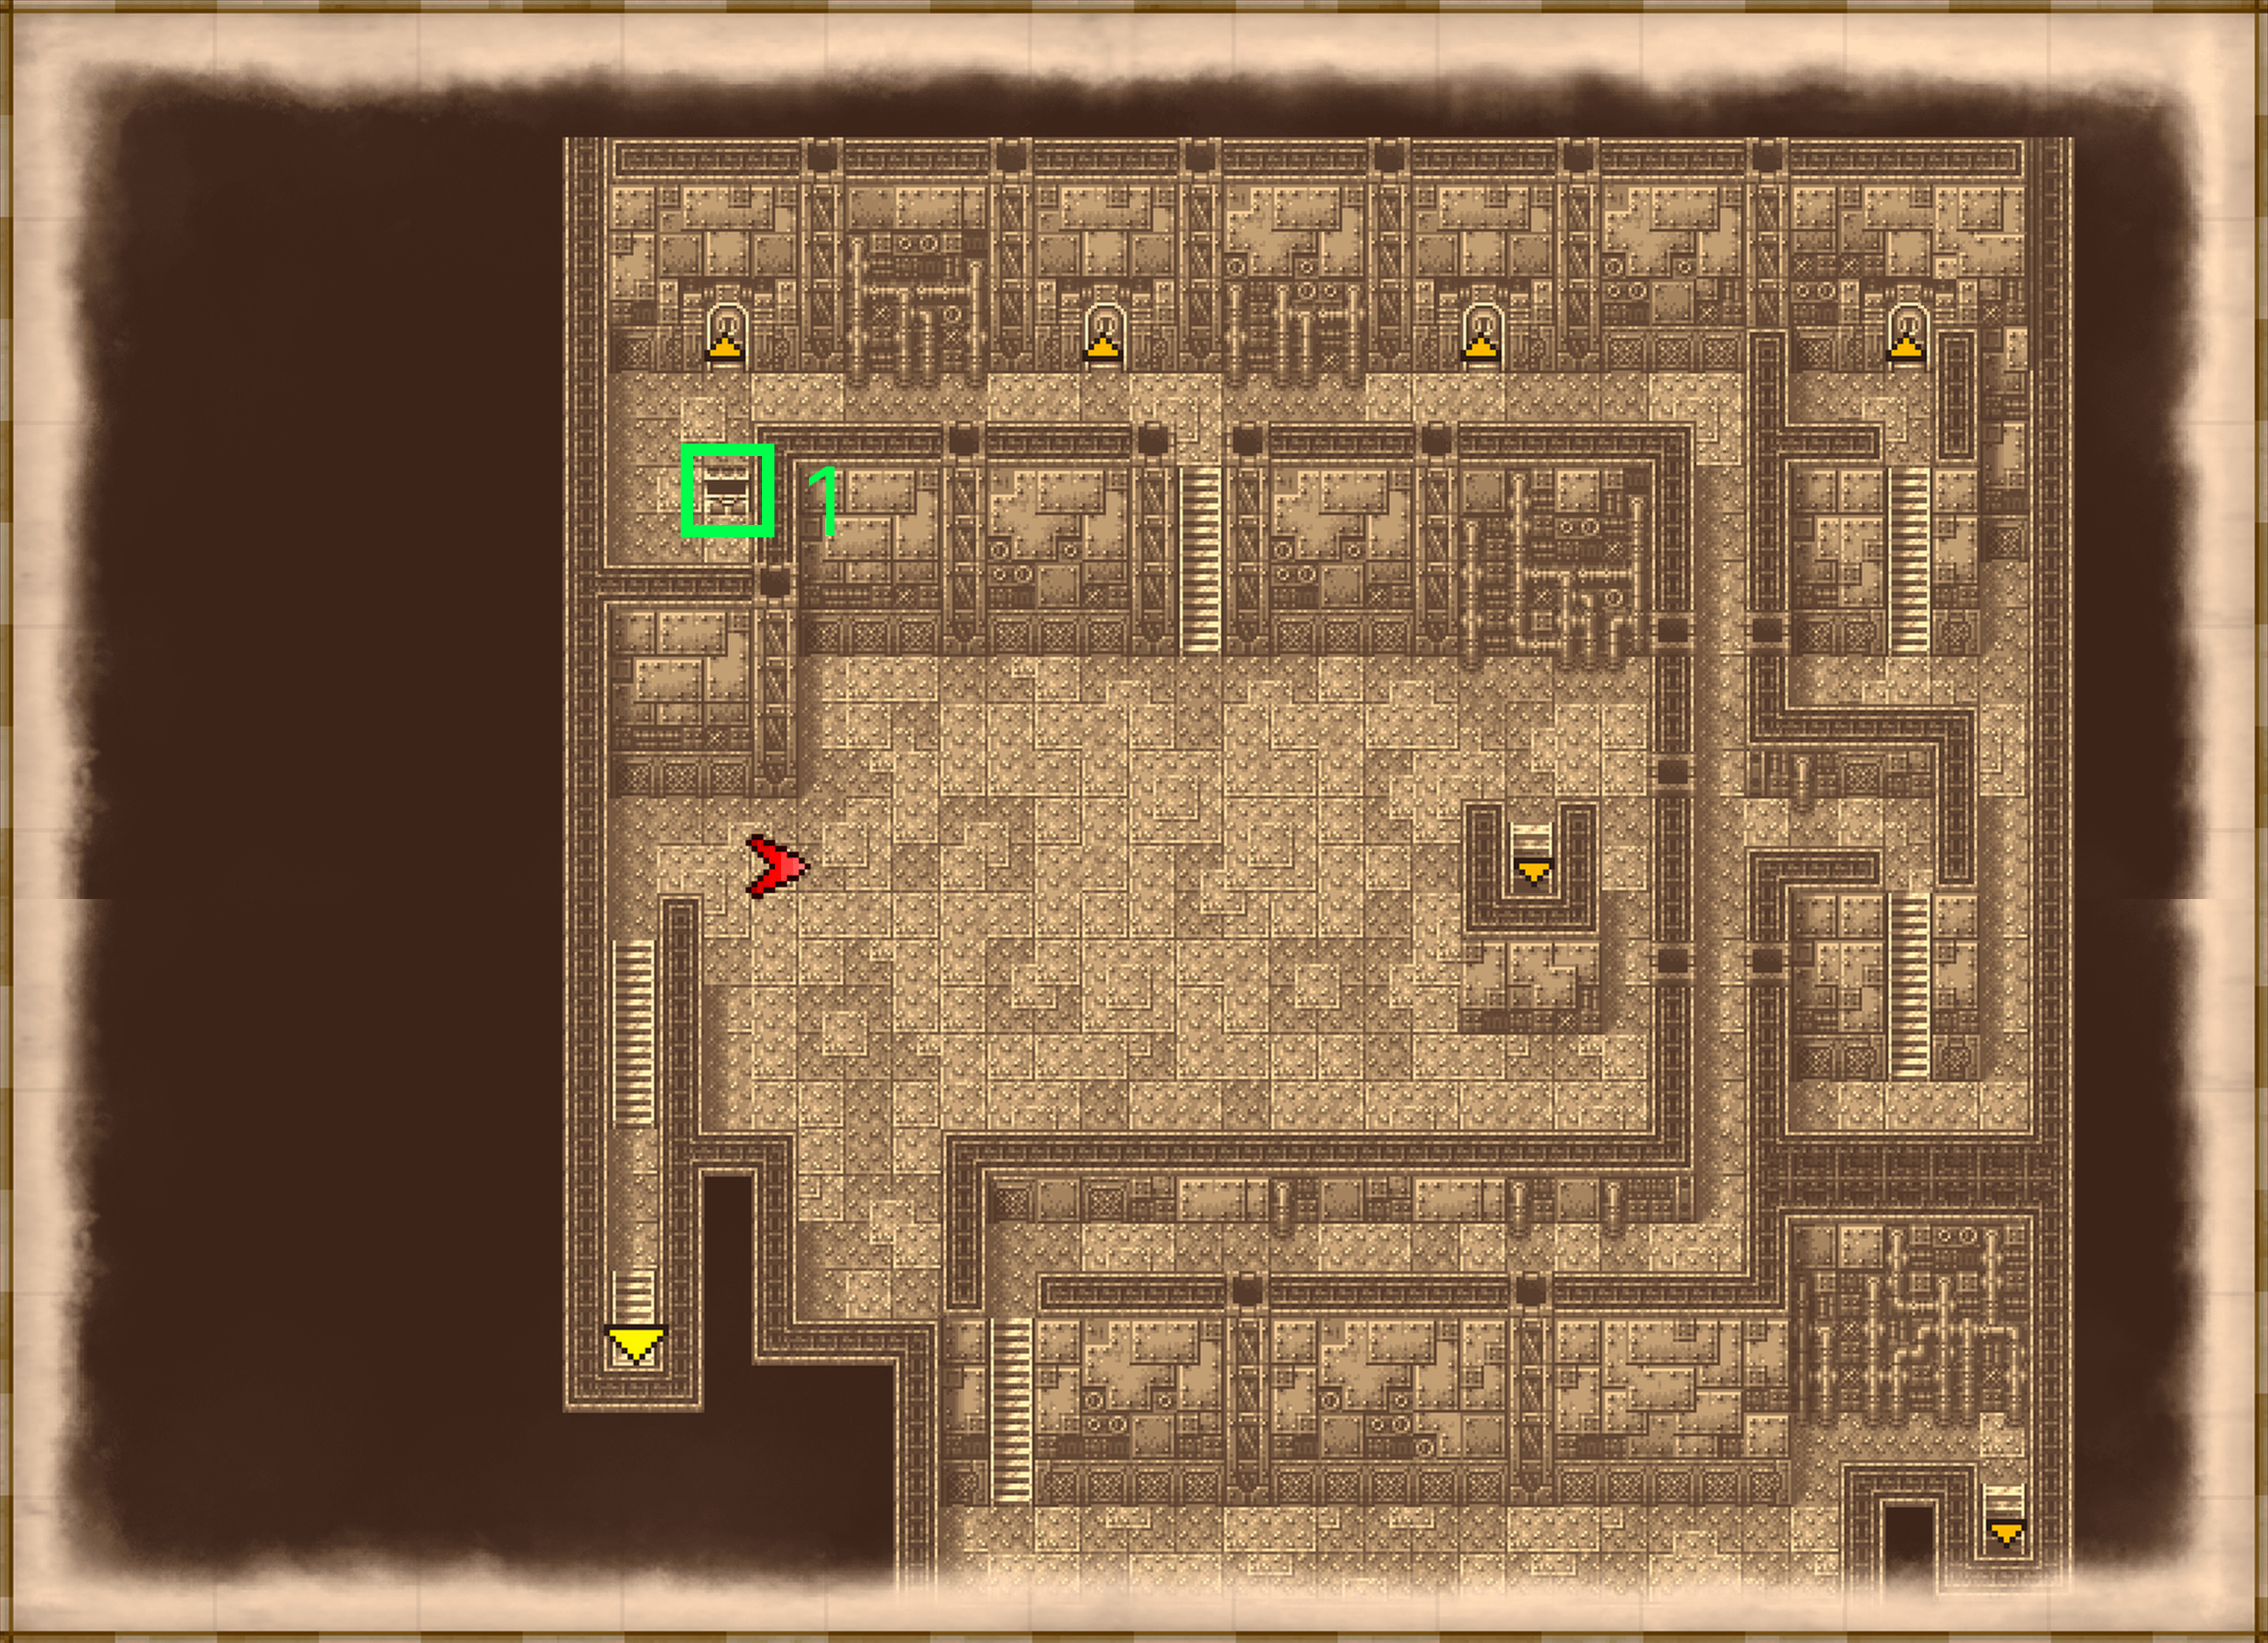
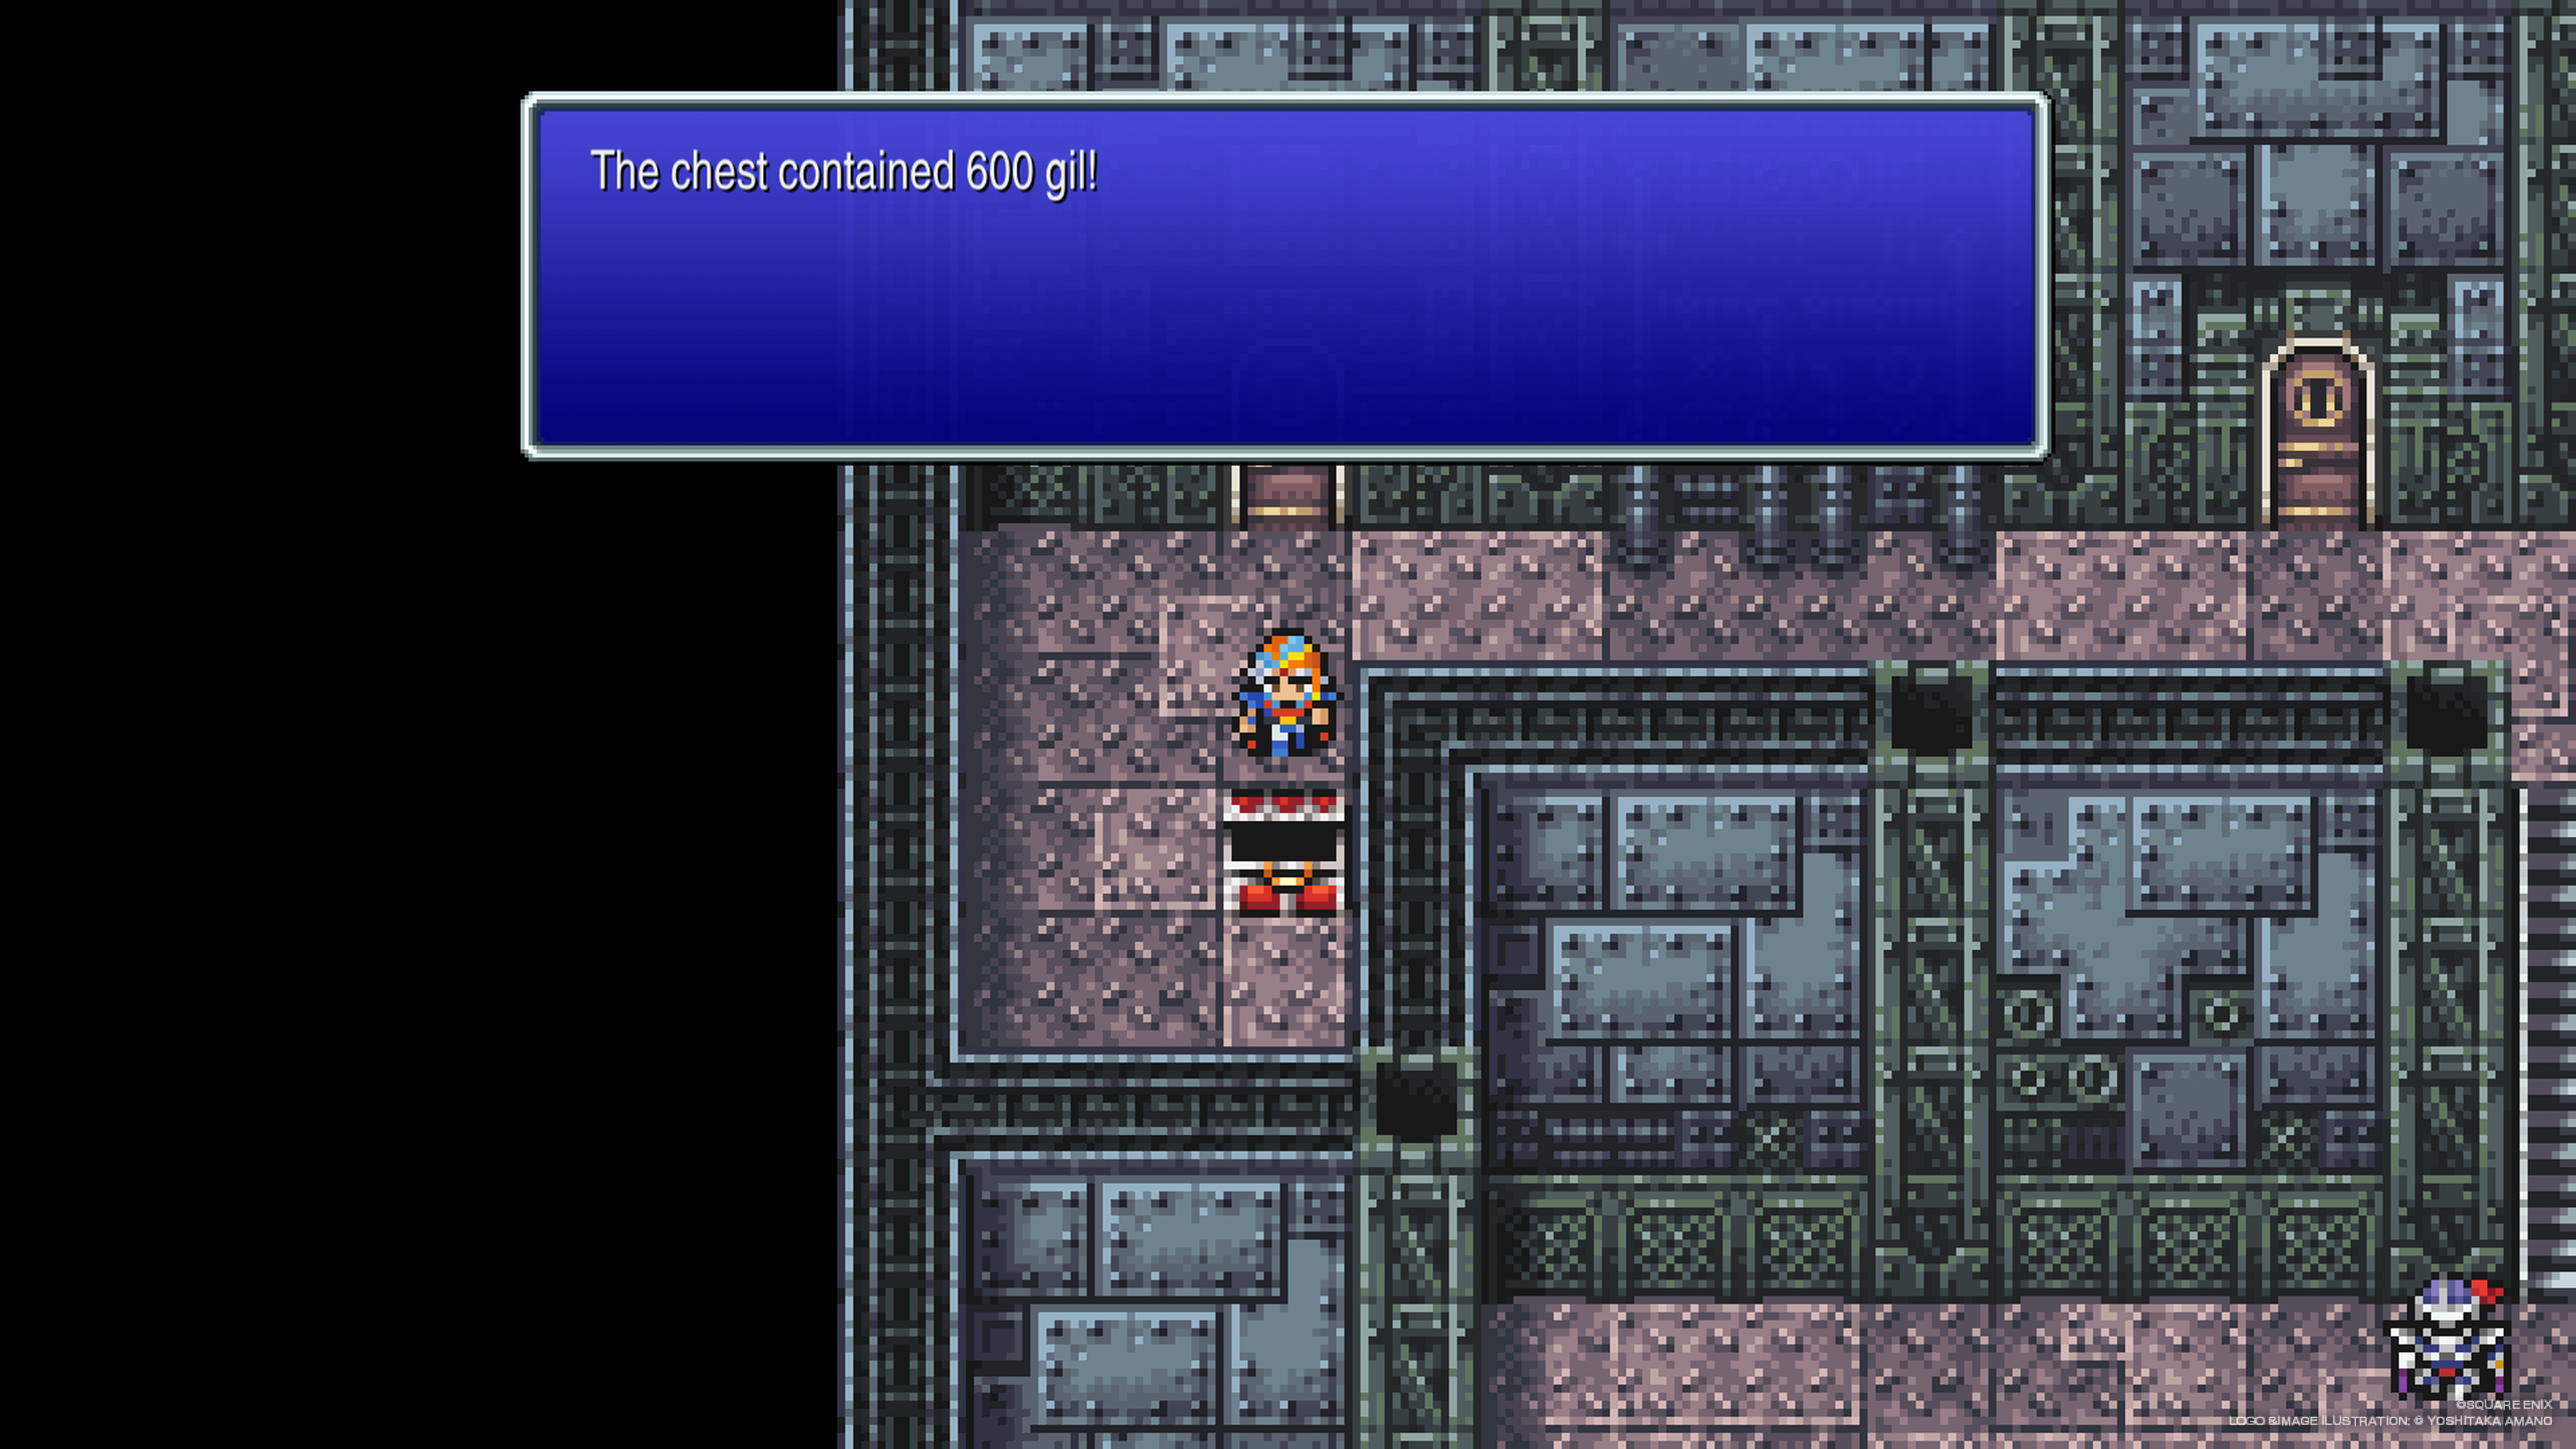
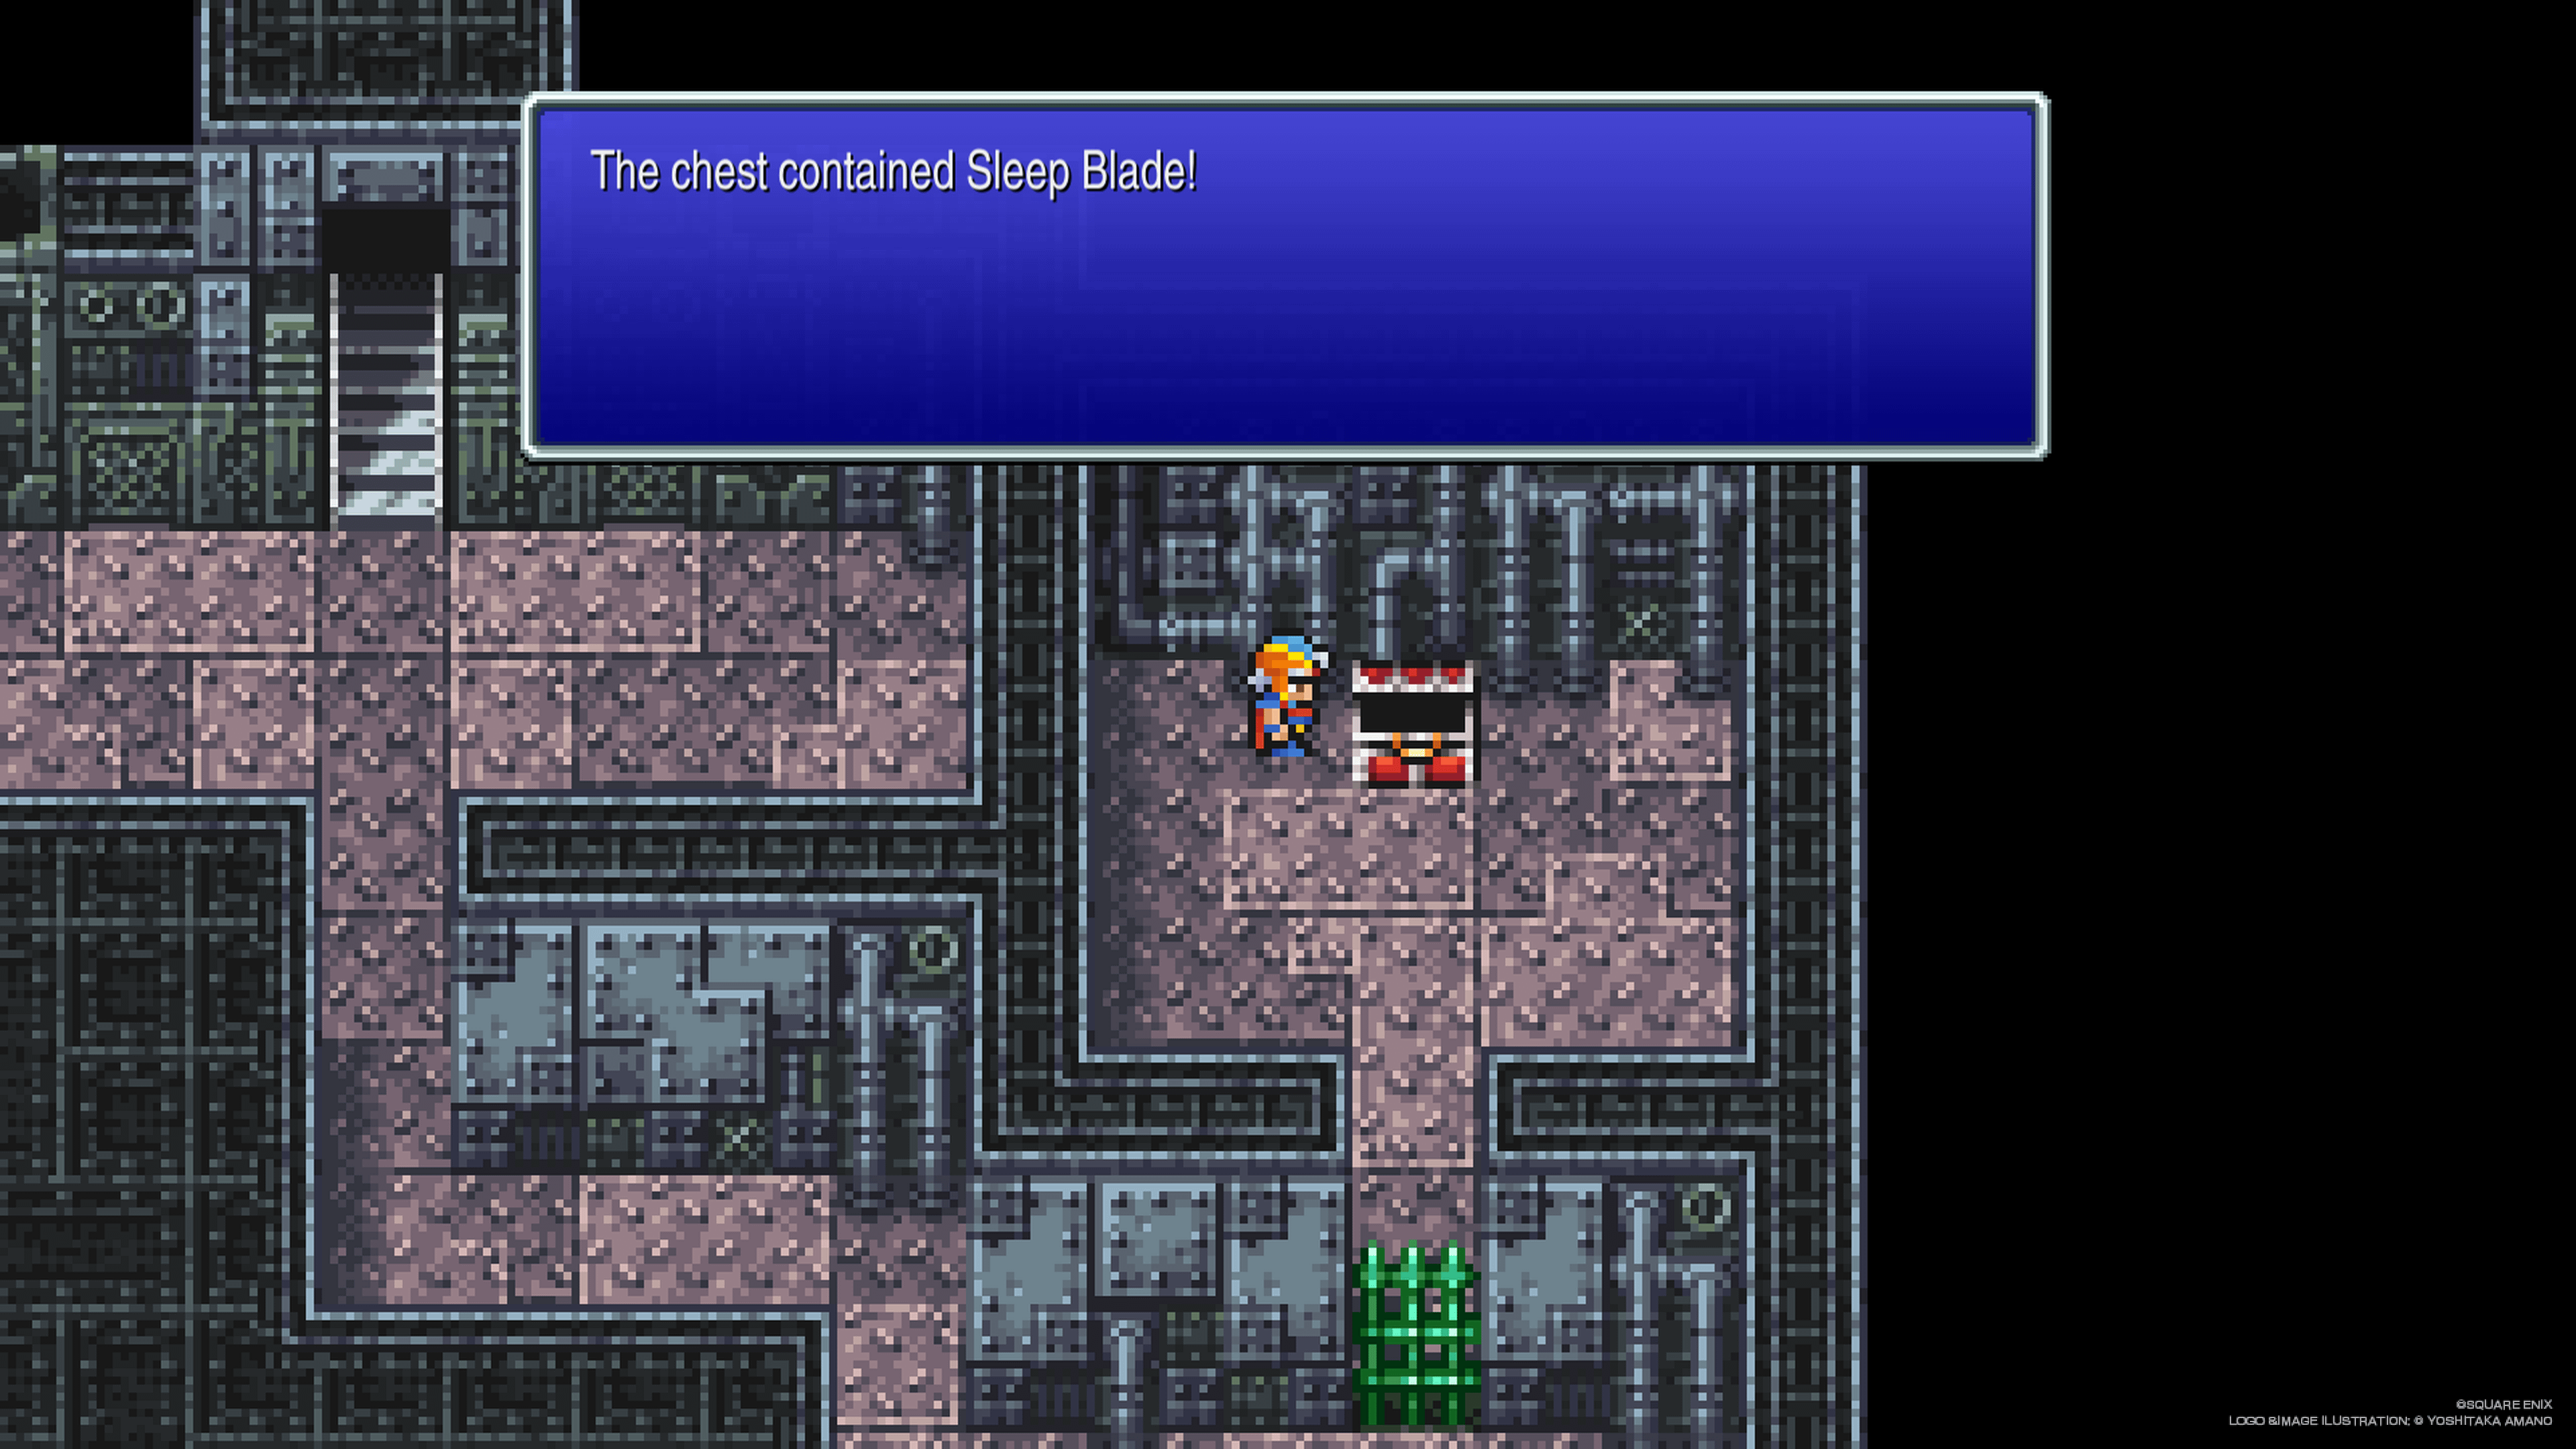
1F. Go up the stairs in the top left corner for chest 1 (600 Gil). Go back down and take the stairs in the middle going down. Take a right and walk through the wall to find chest 2 (Sleep Blade) — monsters guard it.
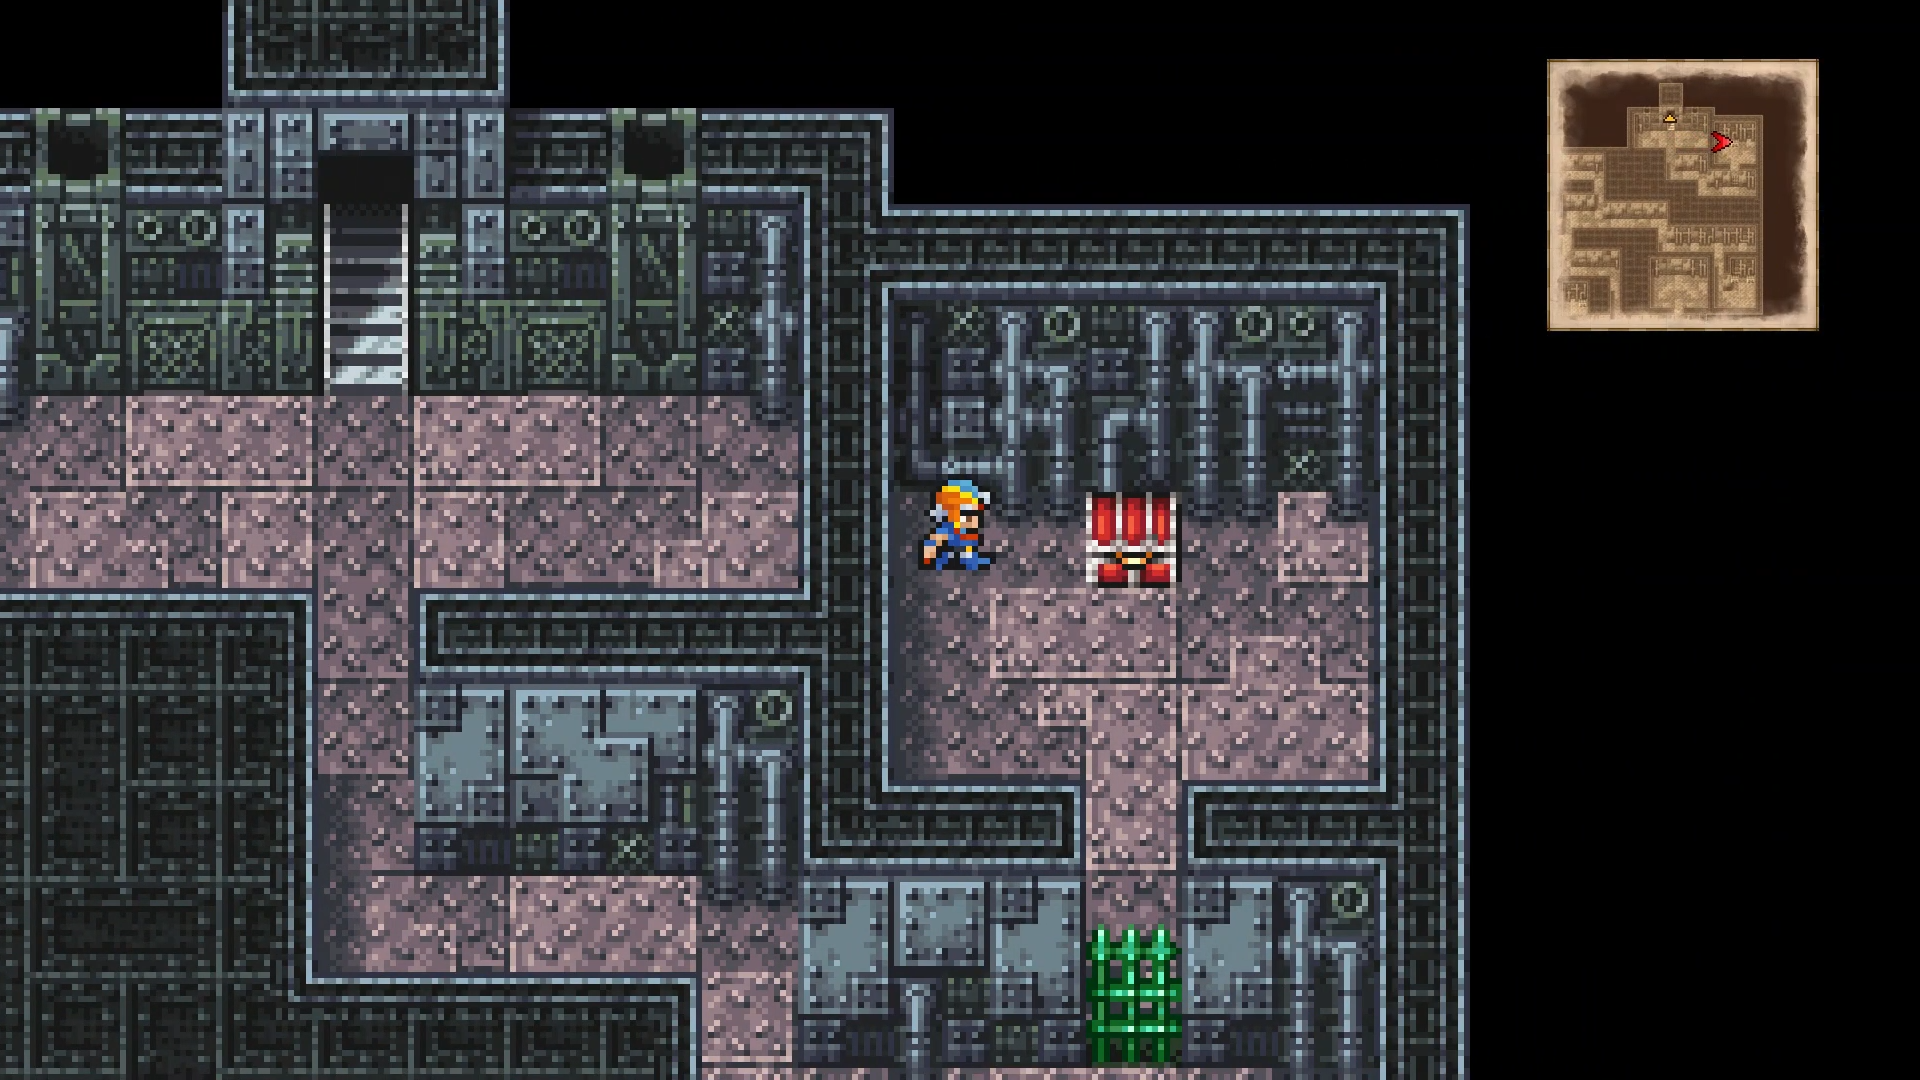
Double back upstairs. Go up and take a right. At the intersection, go right and through the door to 2F.
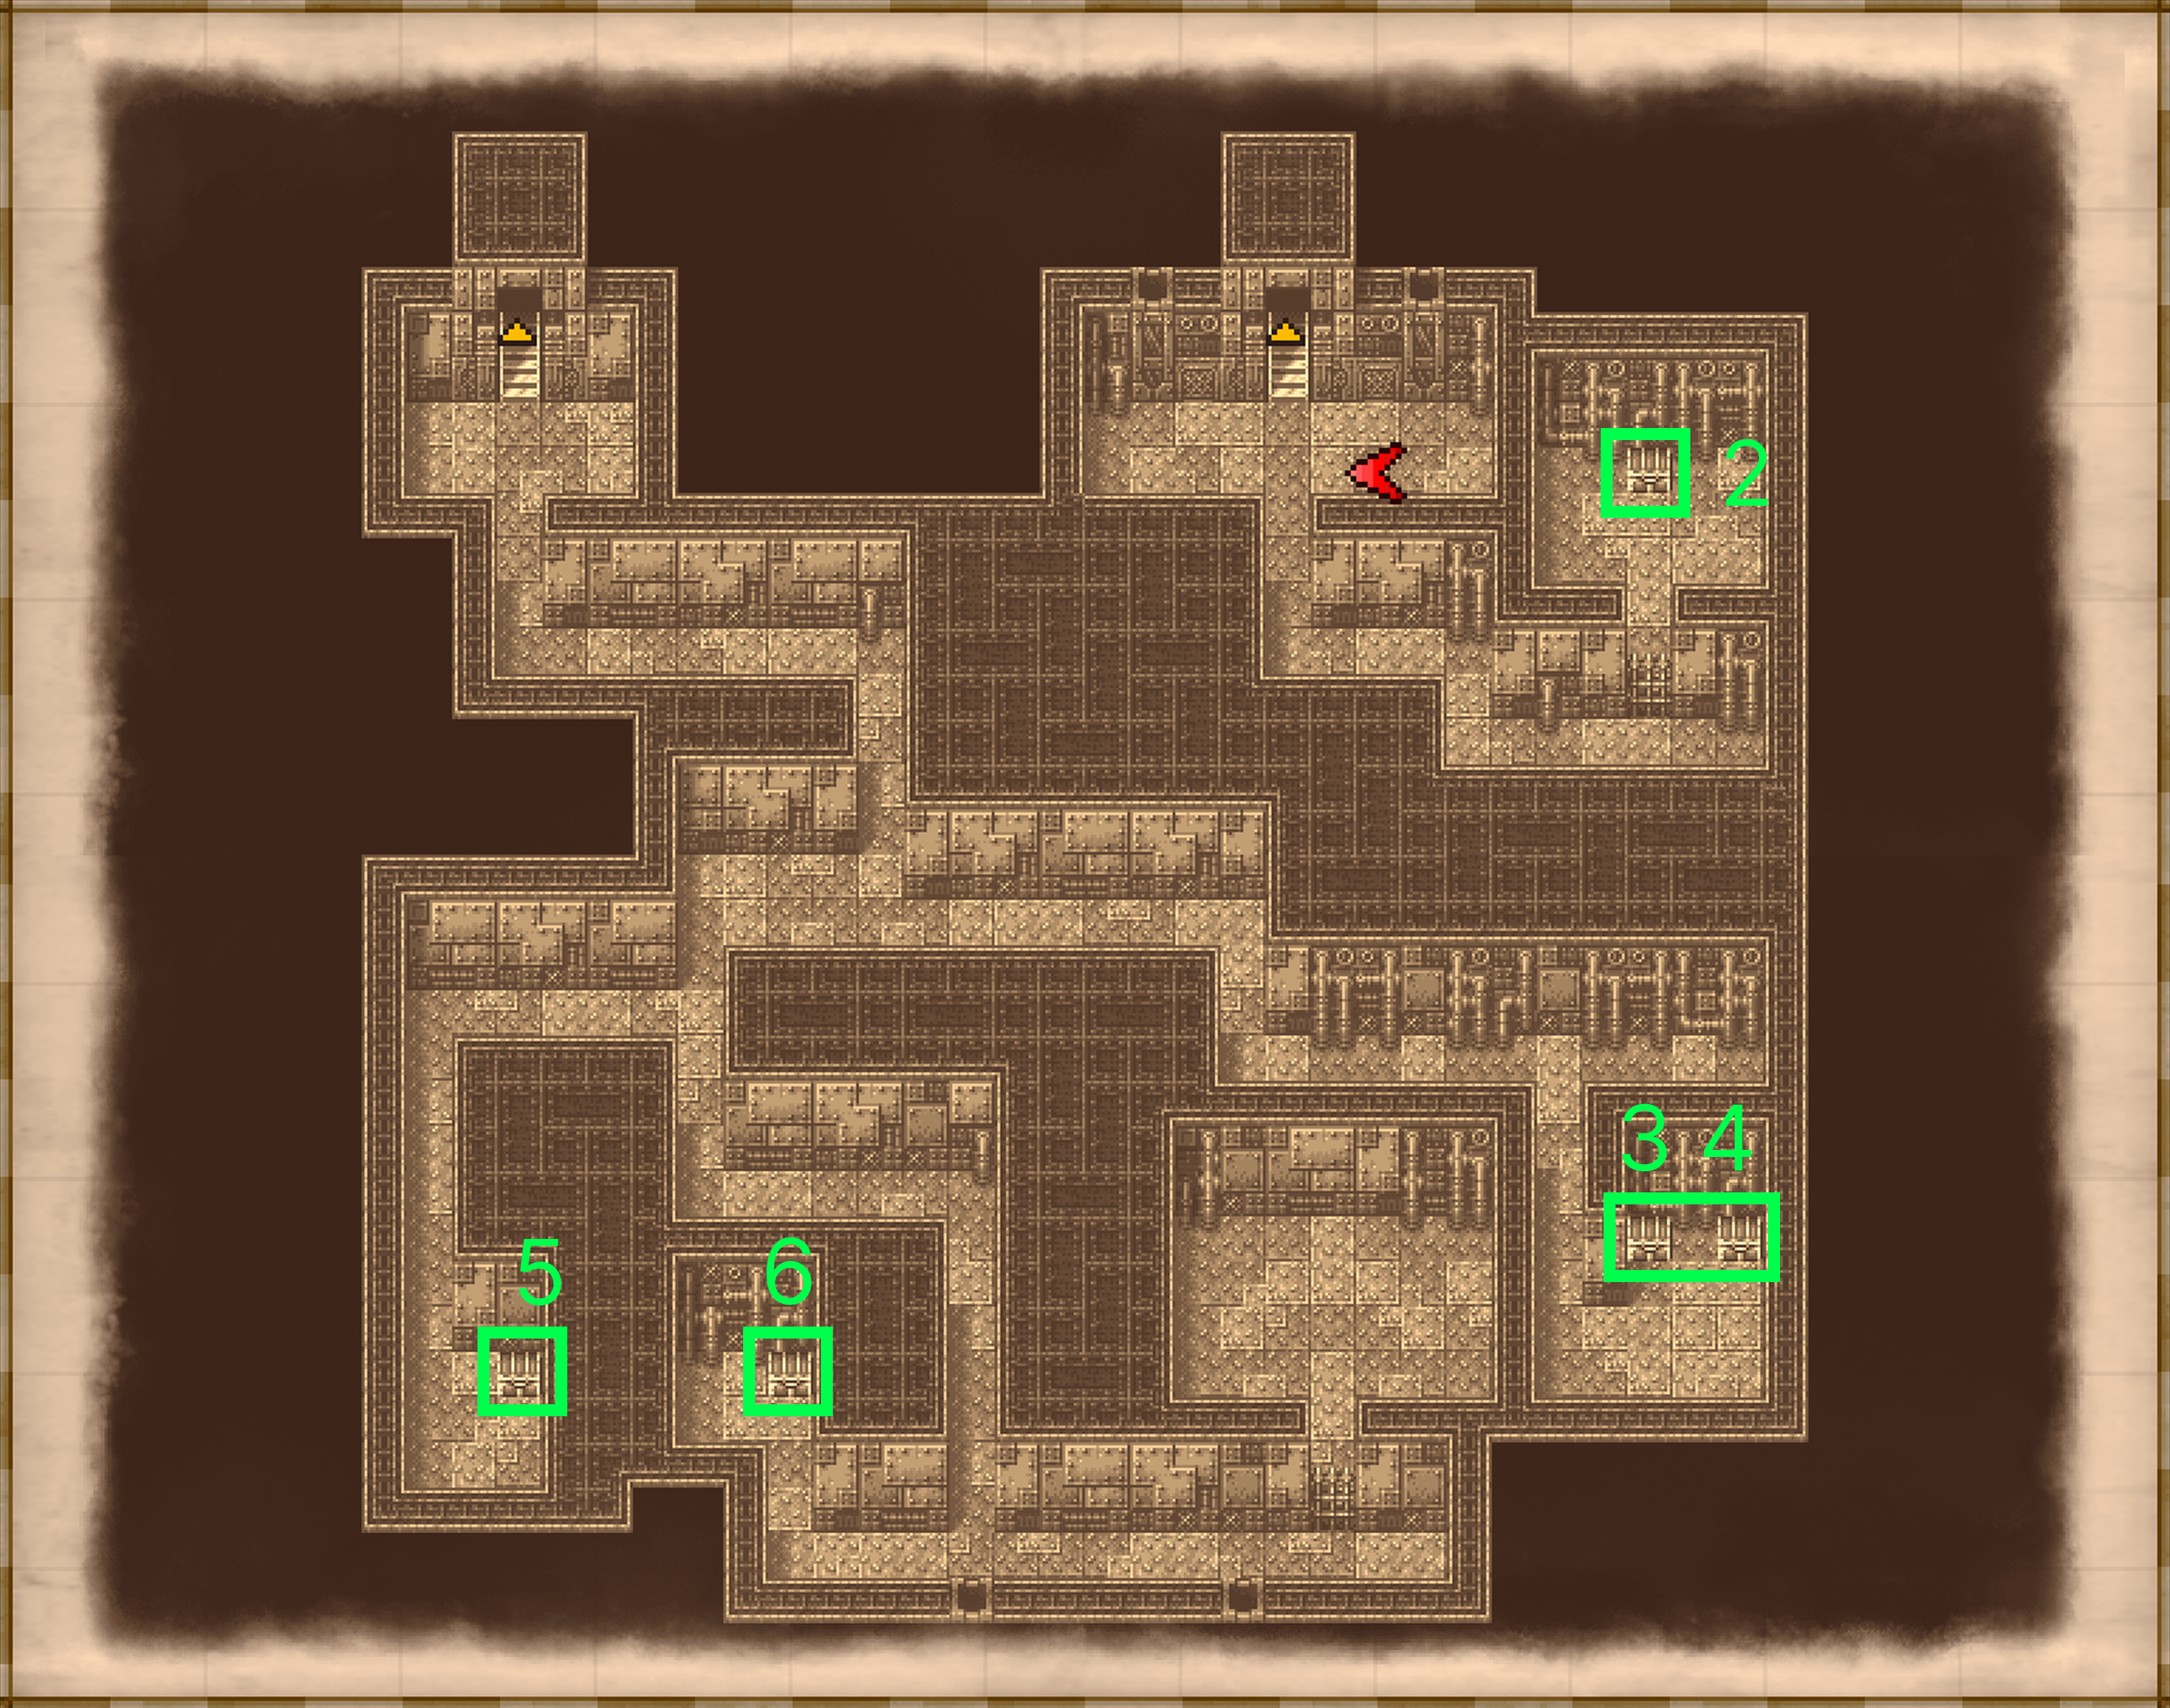
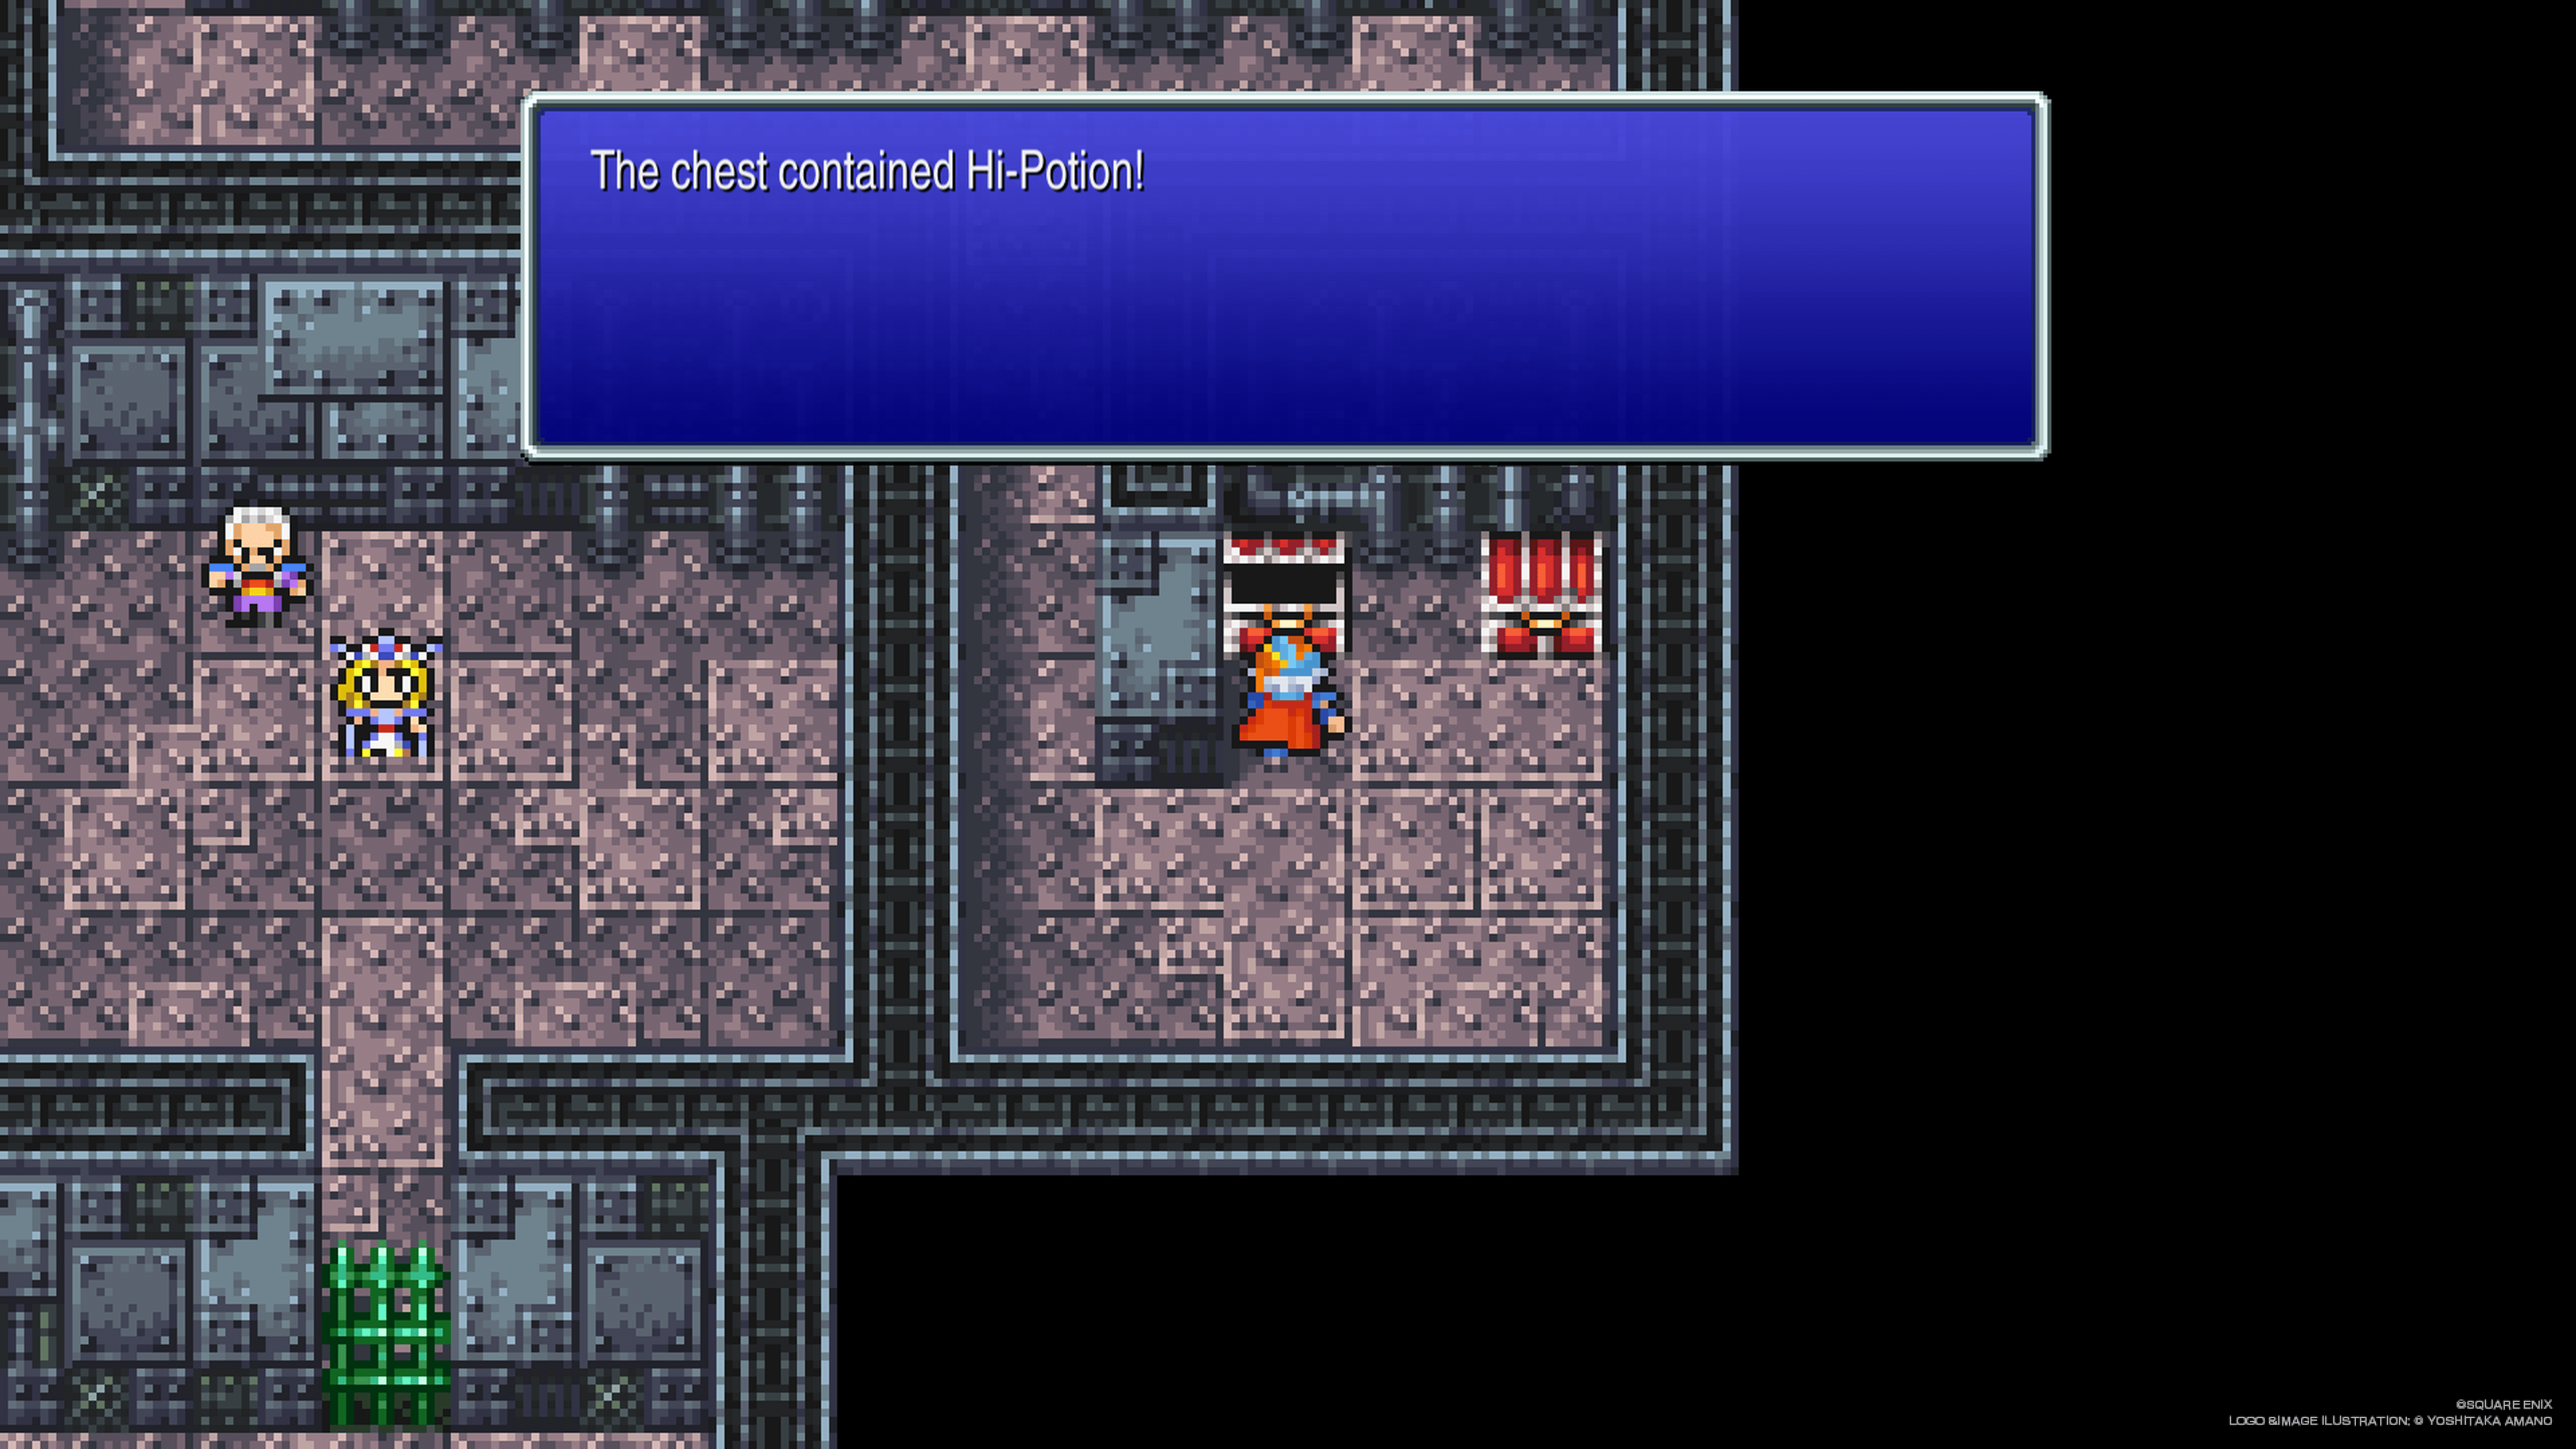
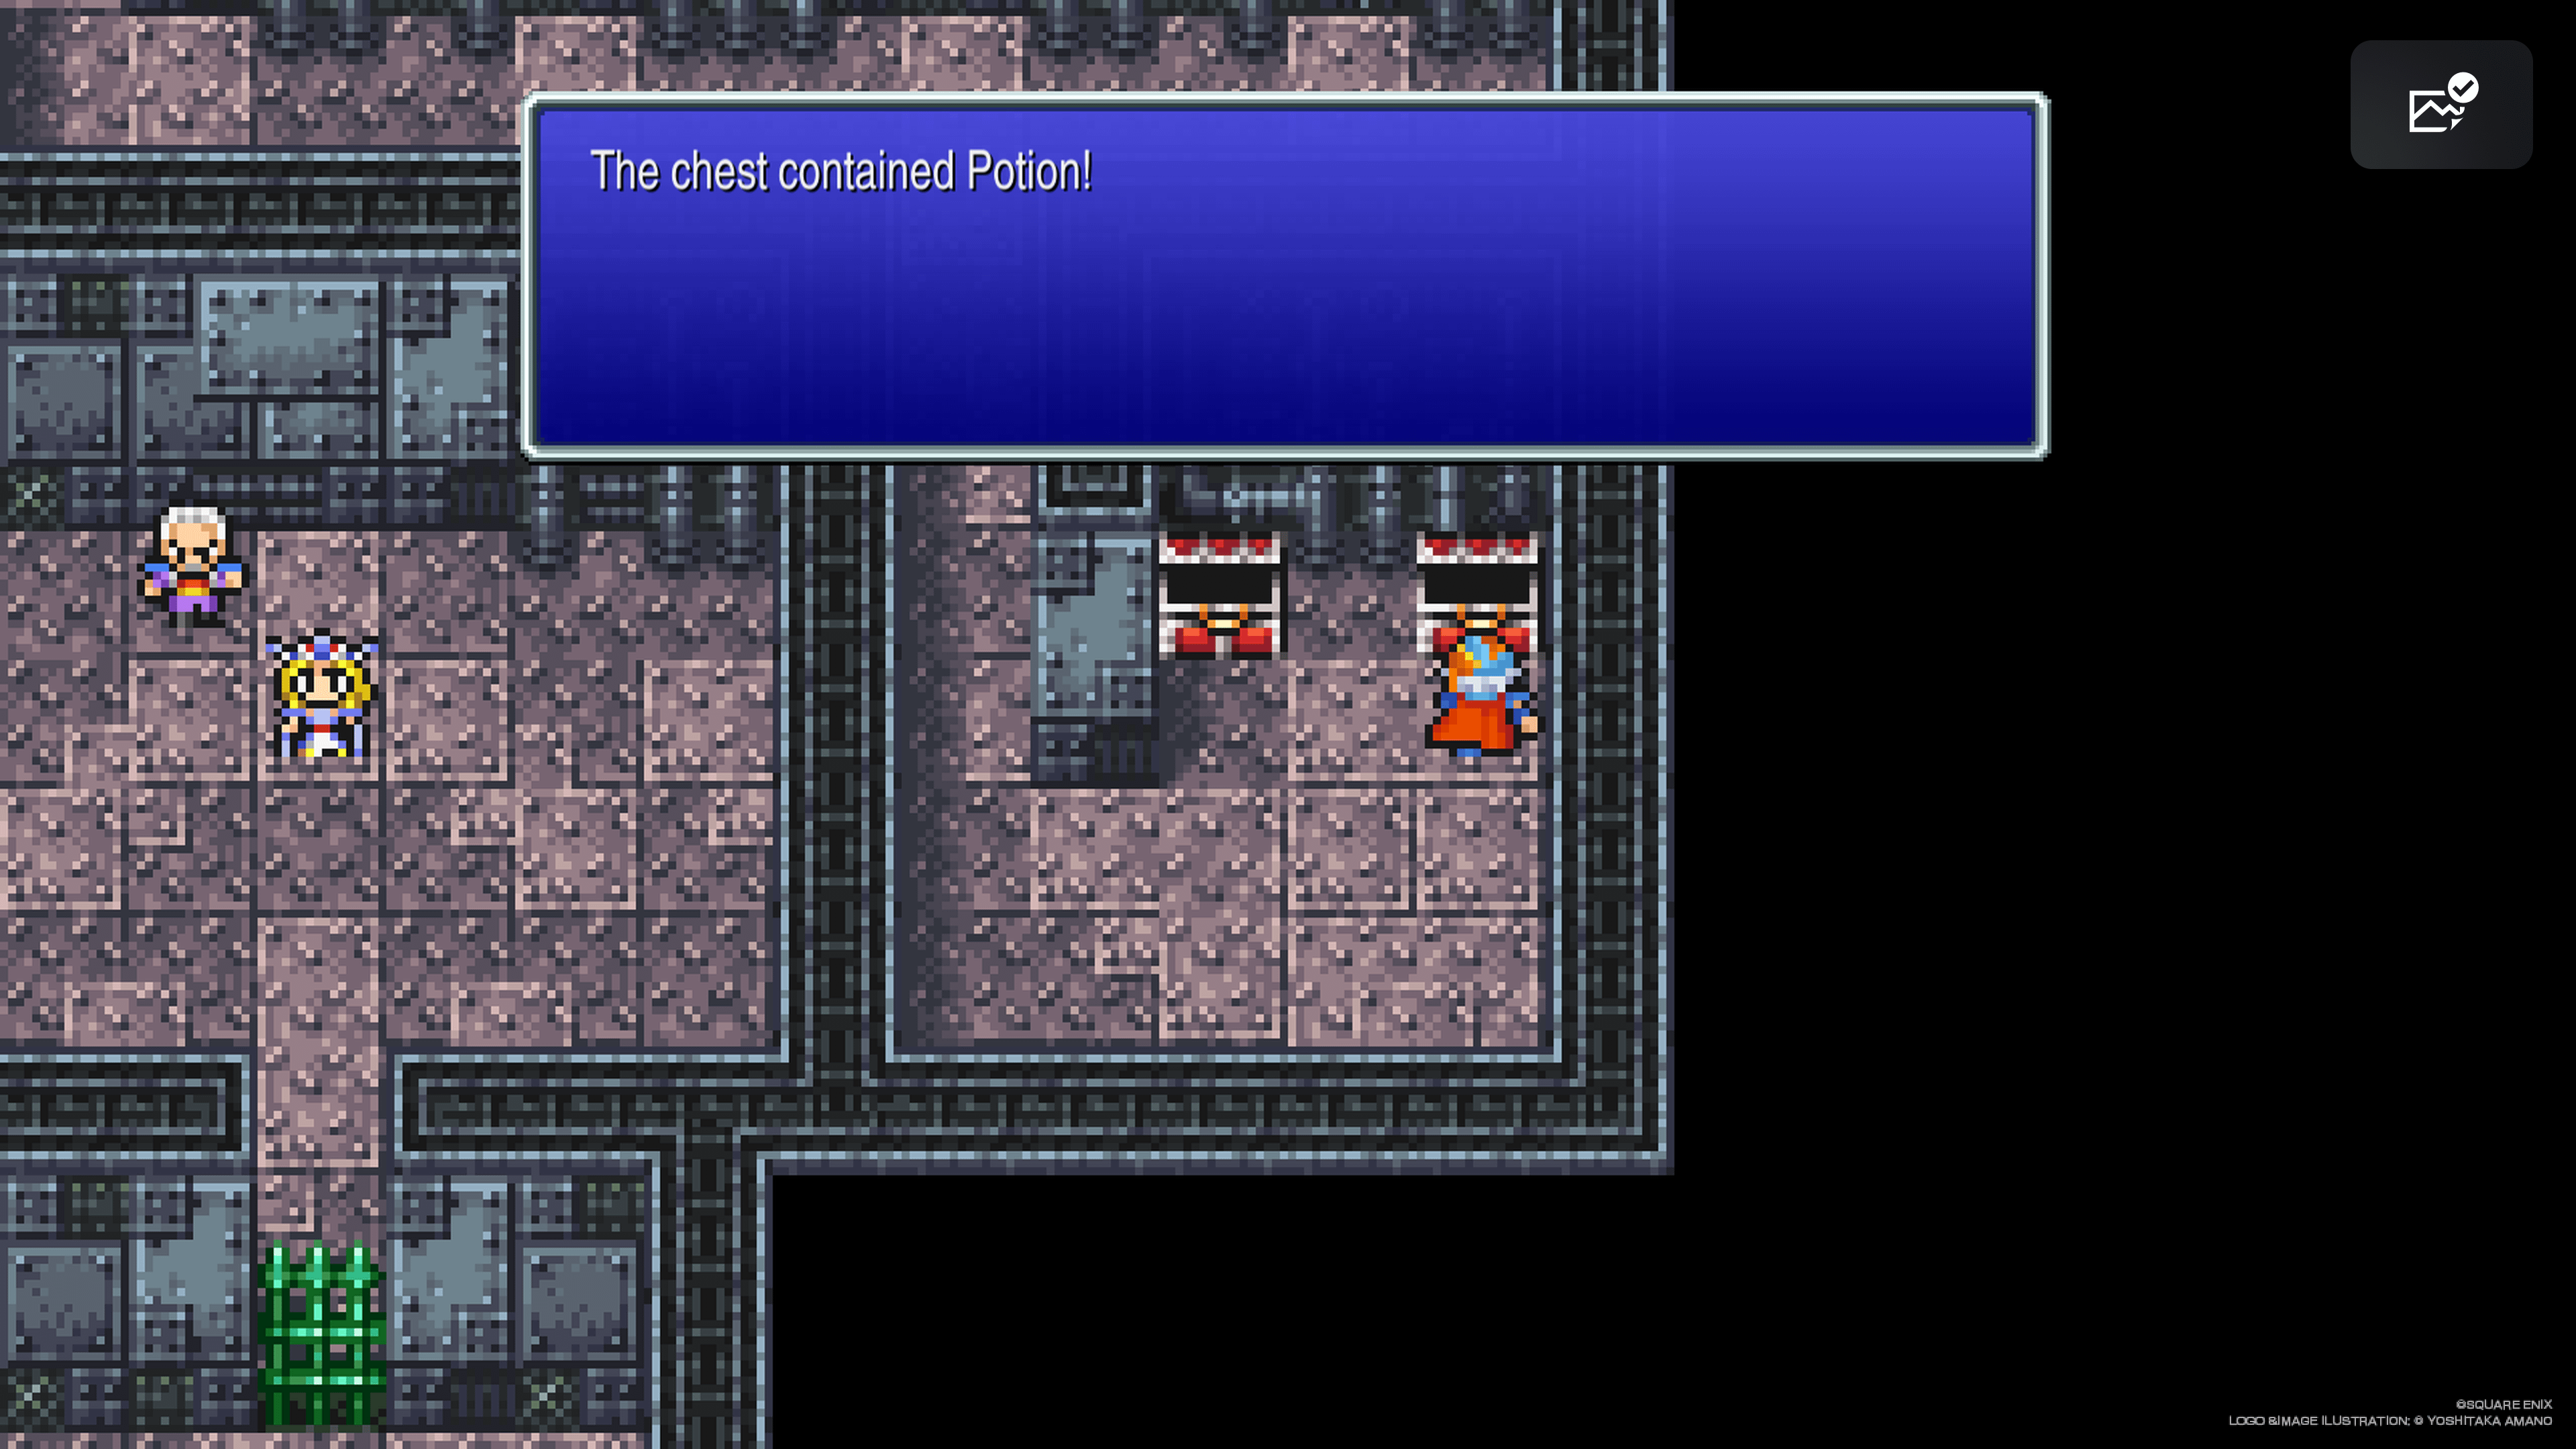
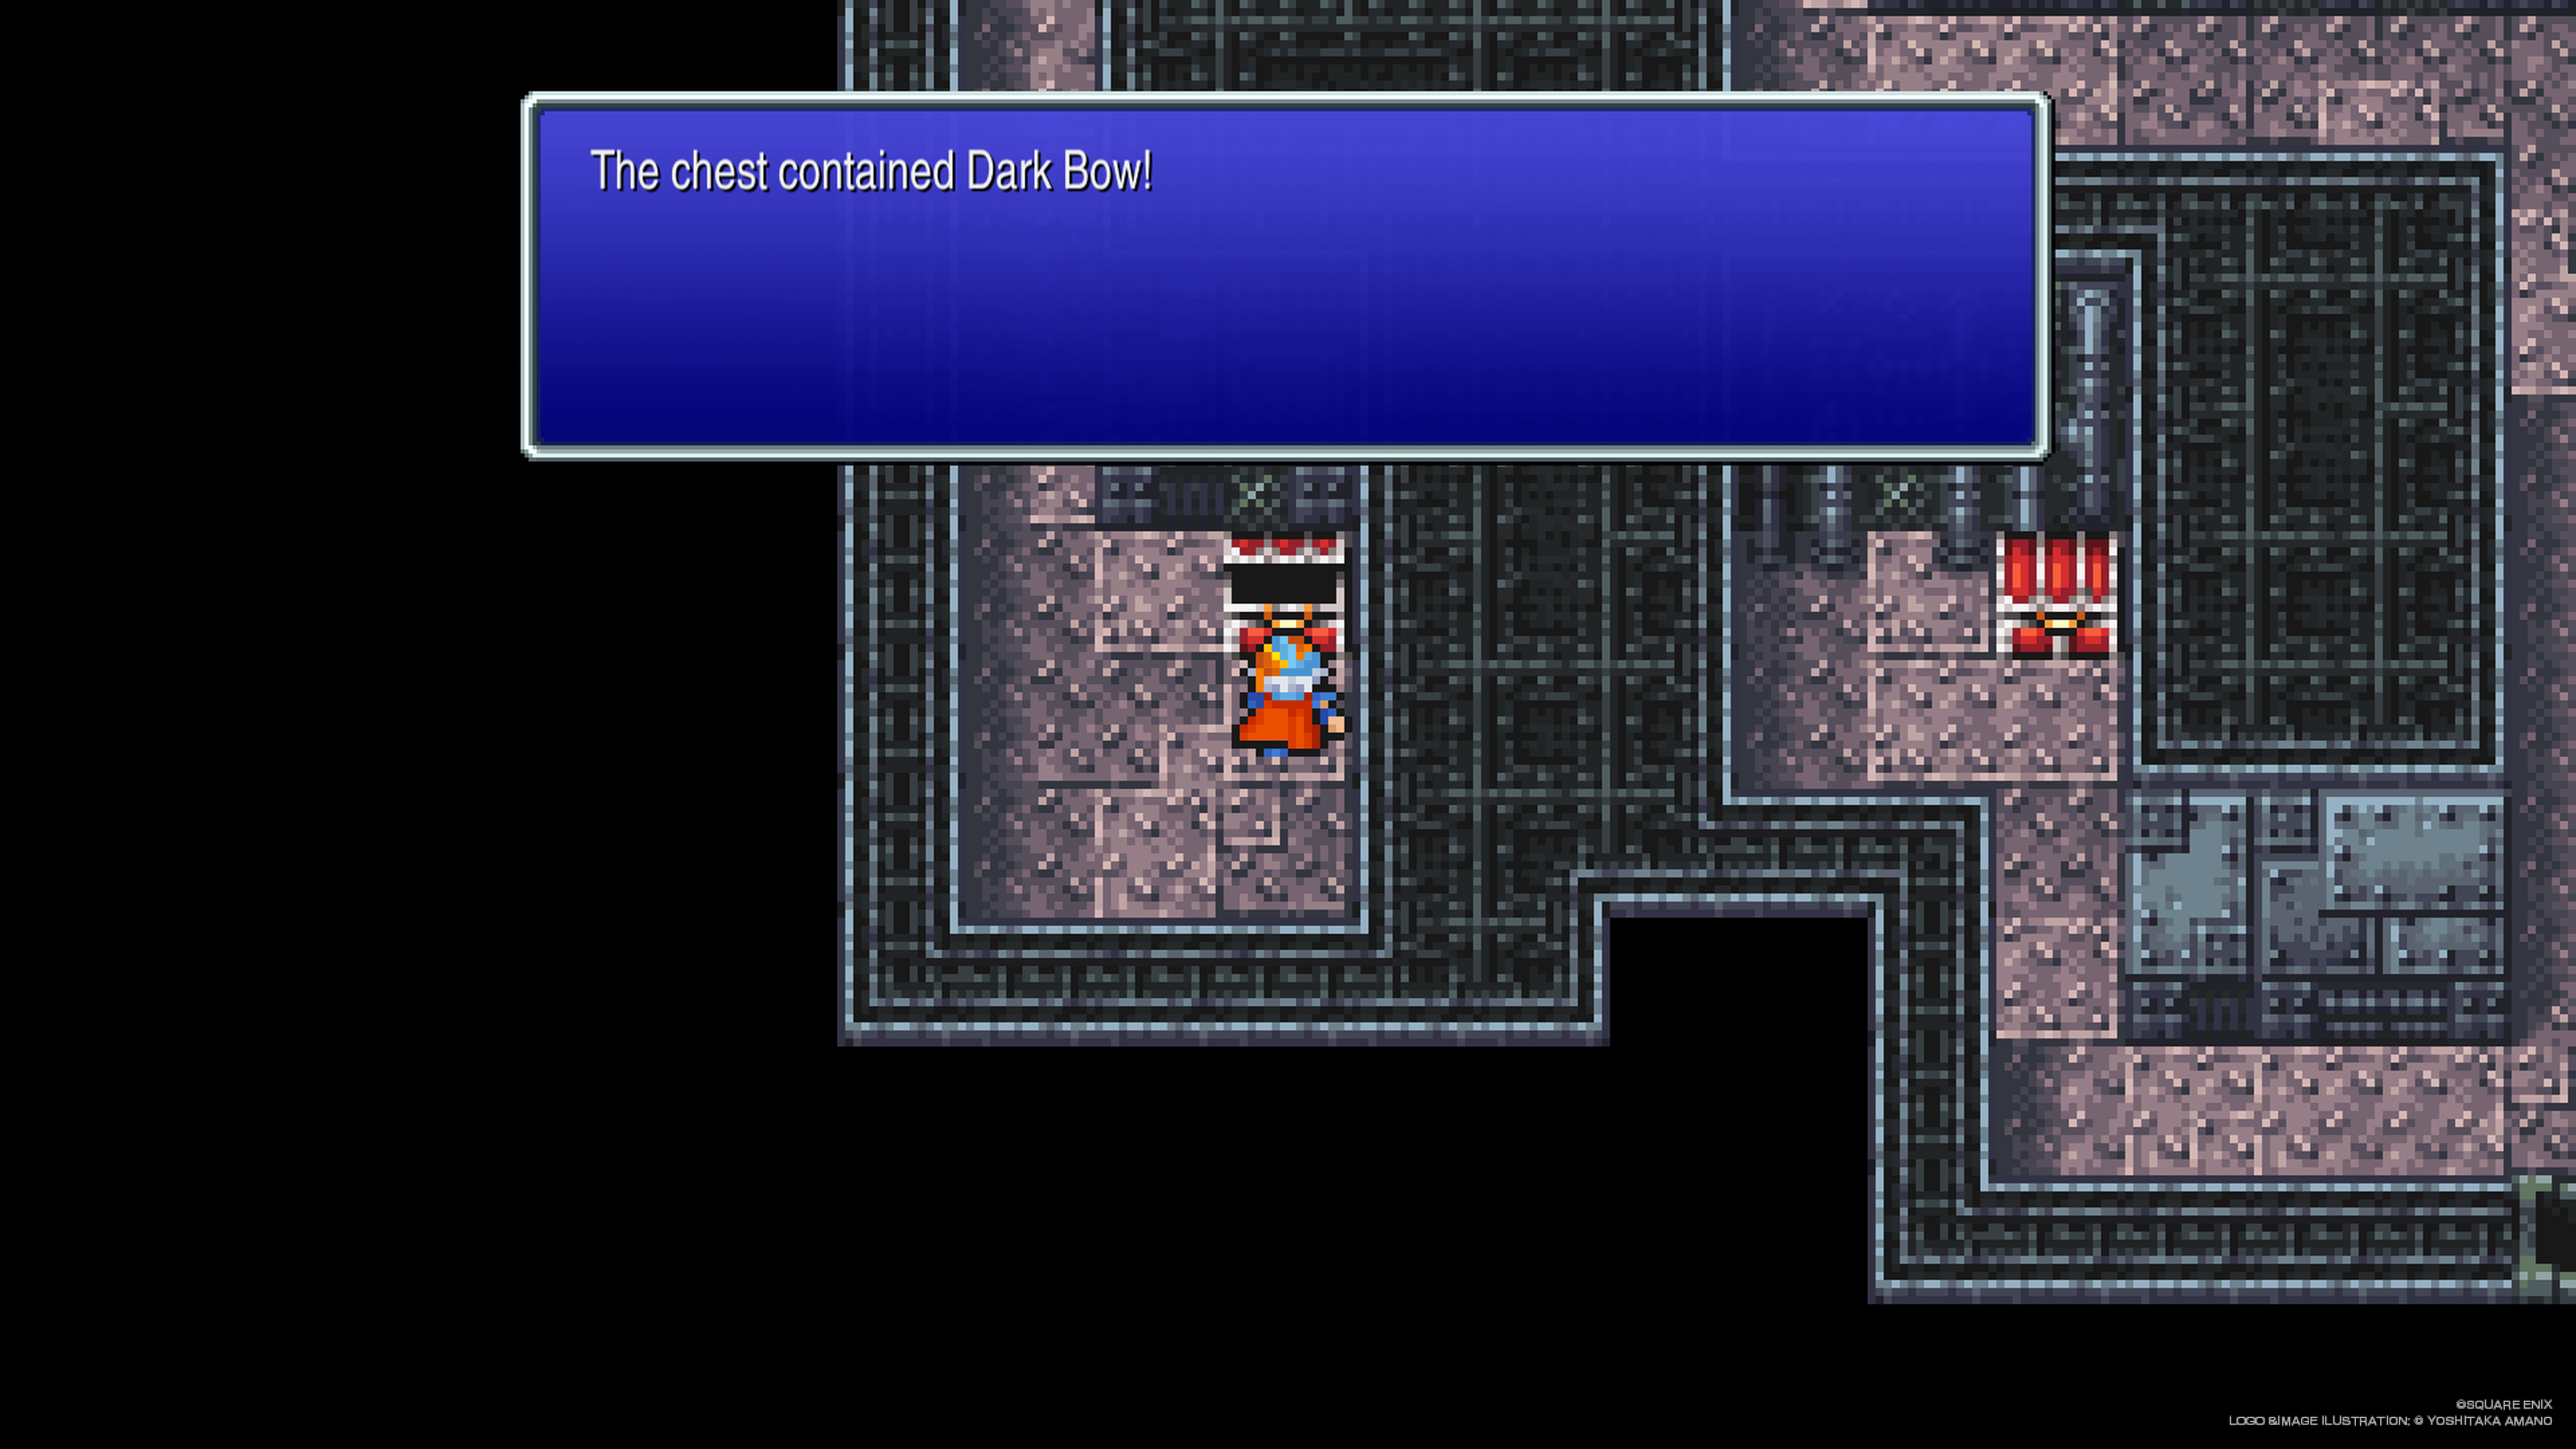
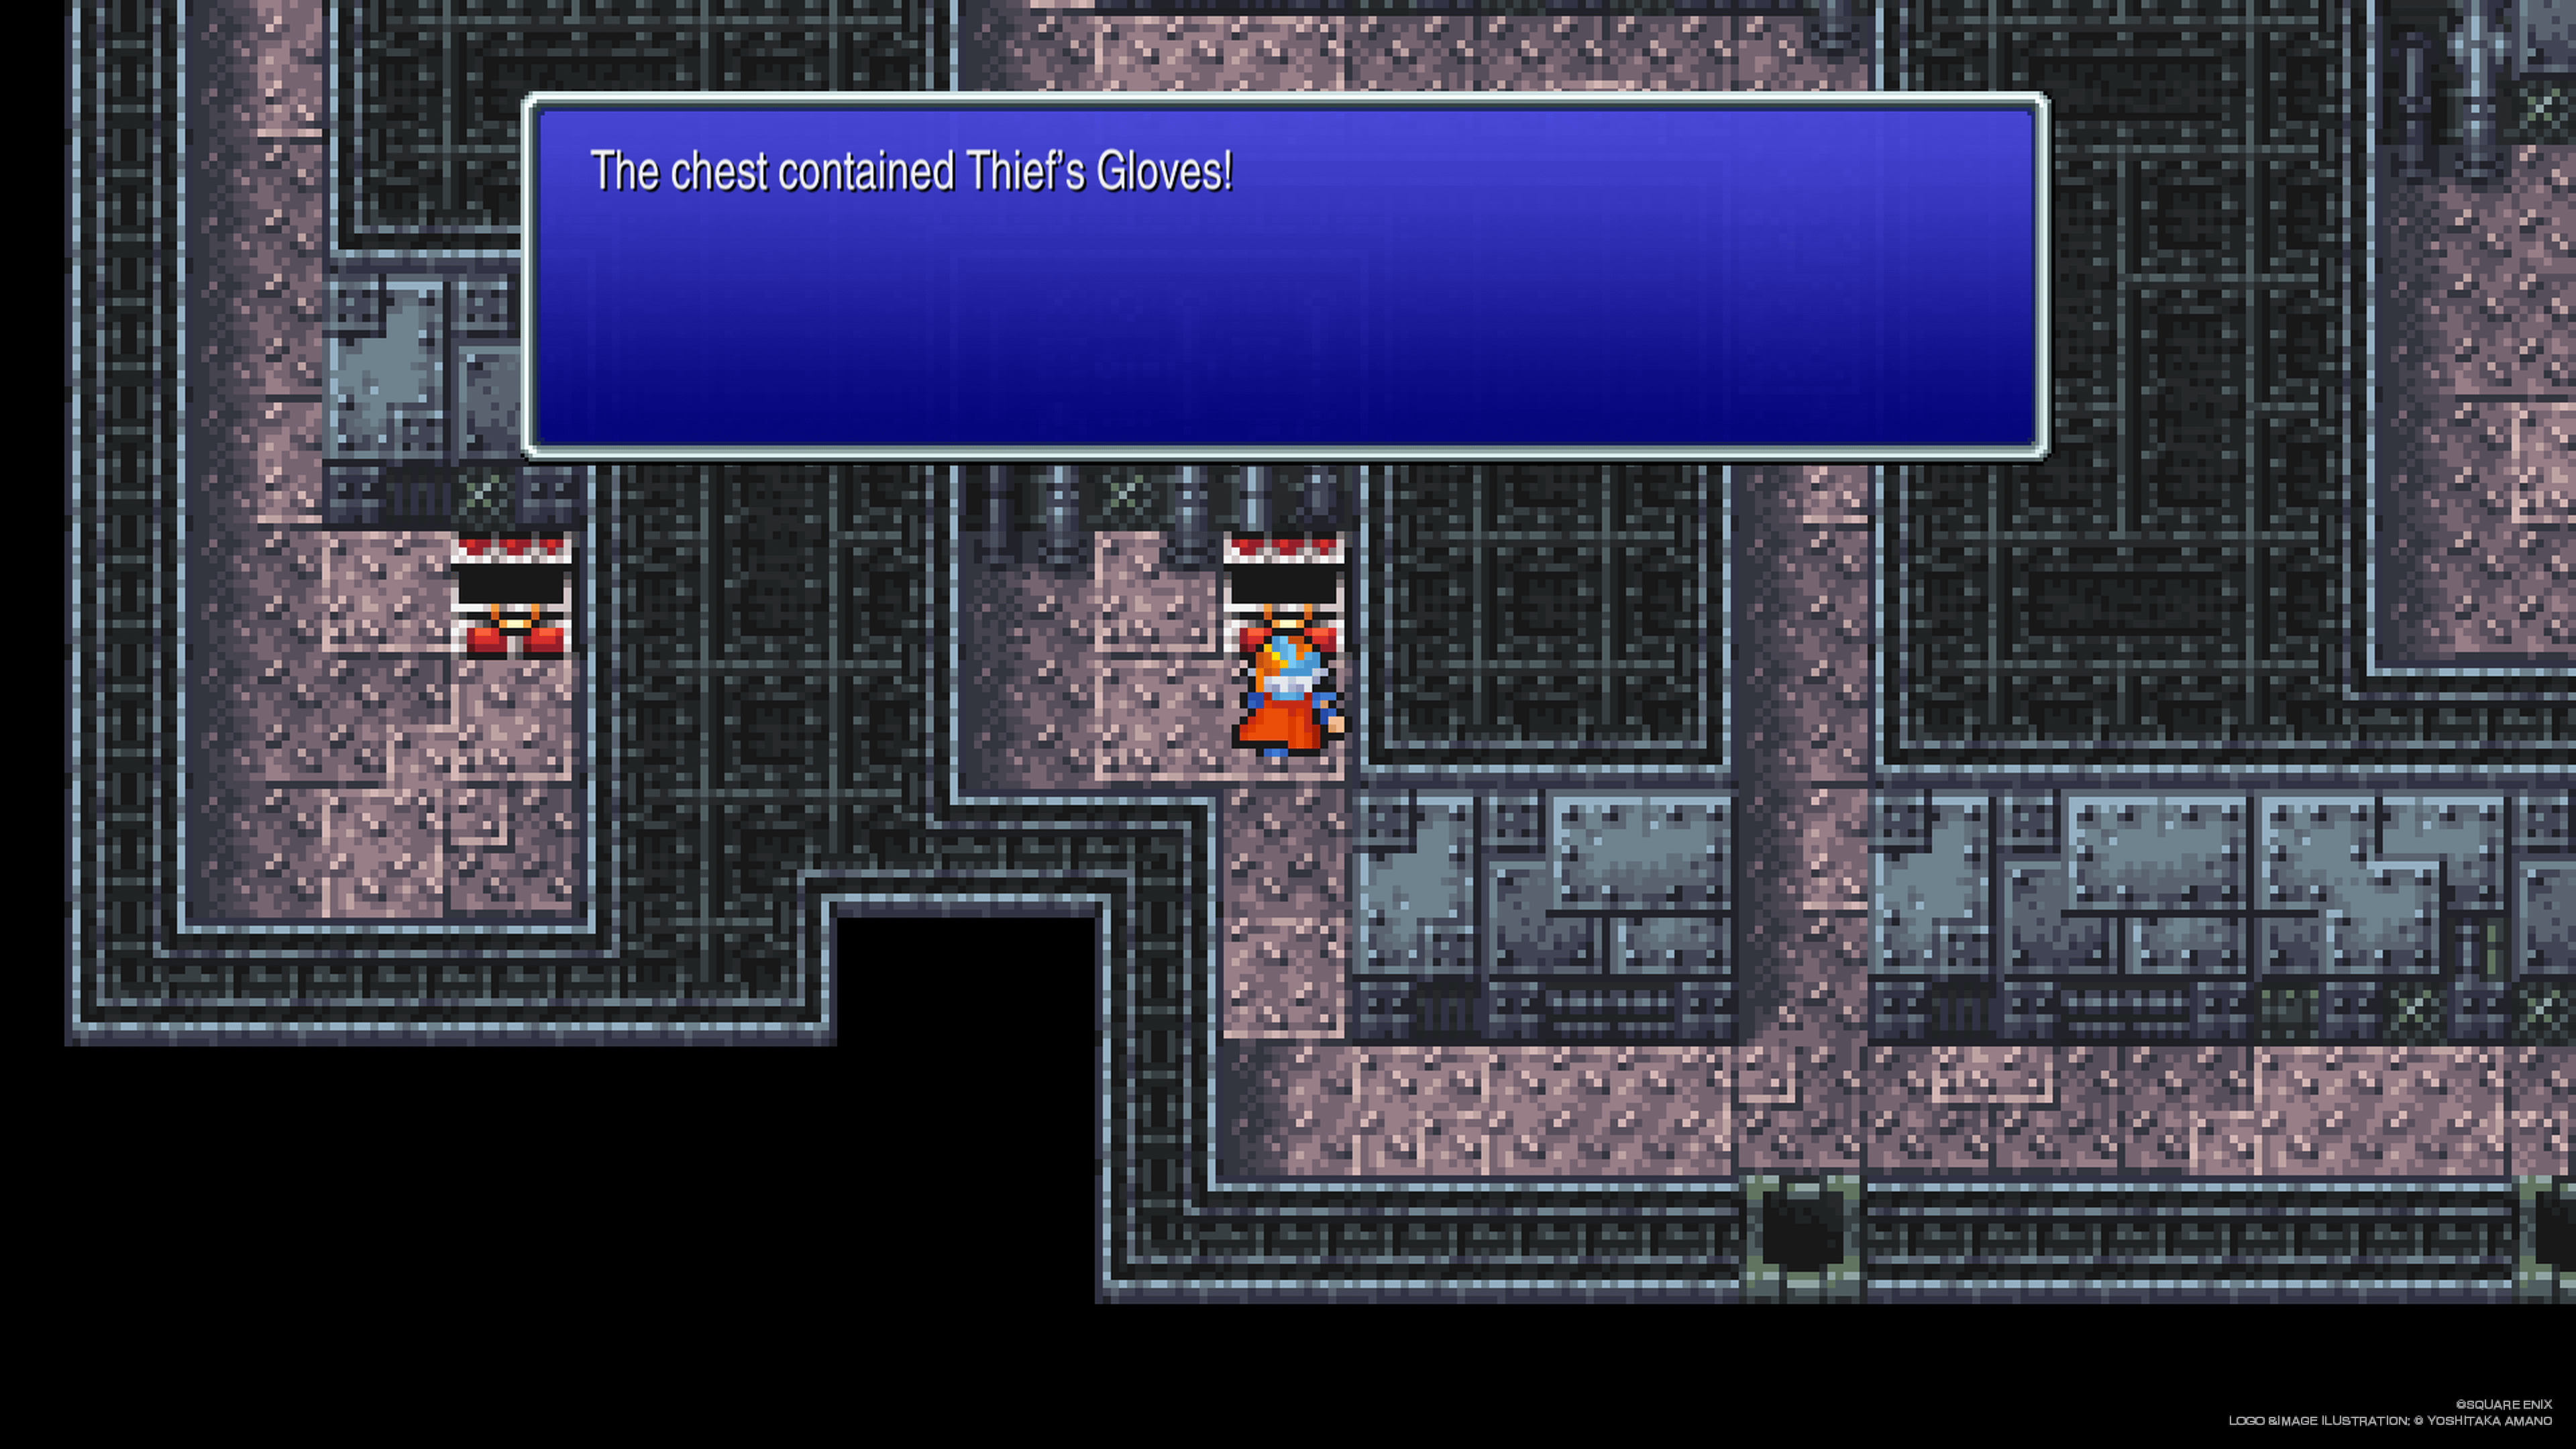
2F. Go down to the intersection. Take a right; follow the path for chest 3 (Hi-Potion) and chest 4 (Potion). Back to the intersection, head all the way left. Bottom left corner has chest 5 (Dark Bow). Go up, take a right, walk down for chest 6 (Thief's Gloves). Take a right and open the green gate to find the prison cells.
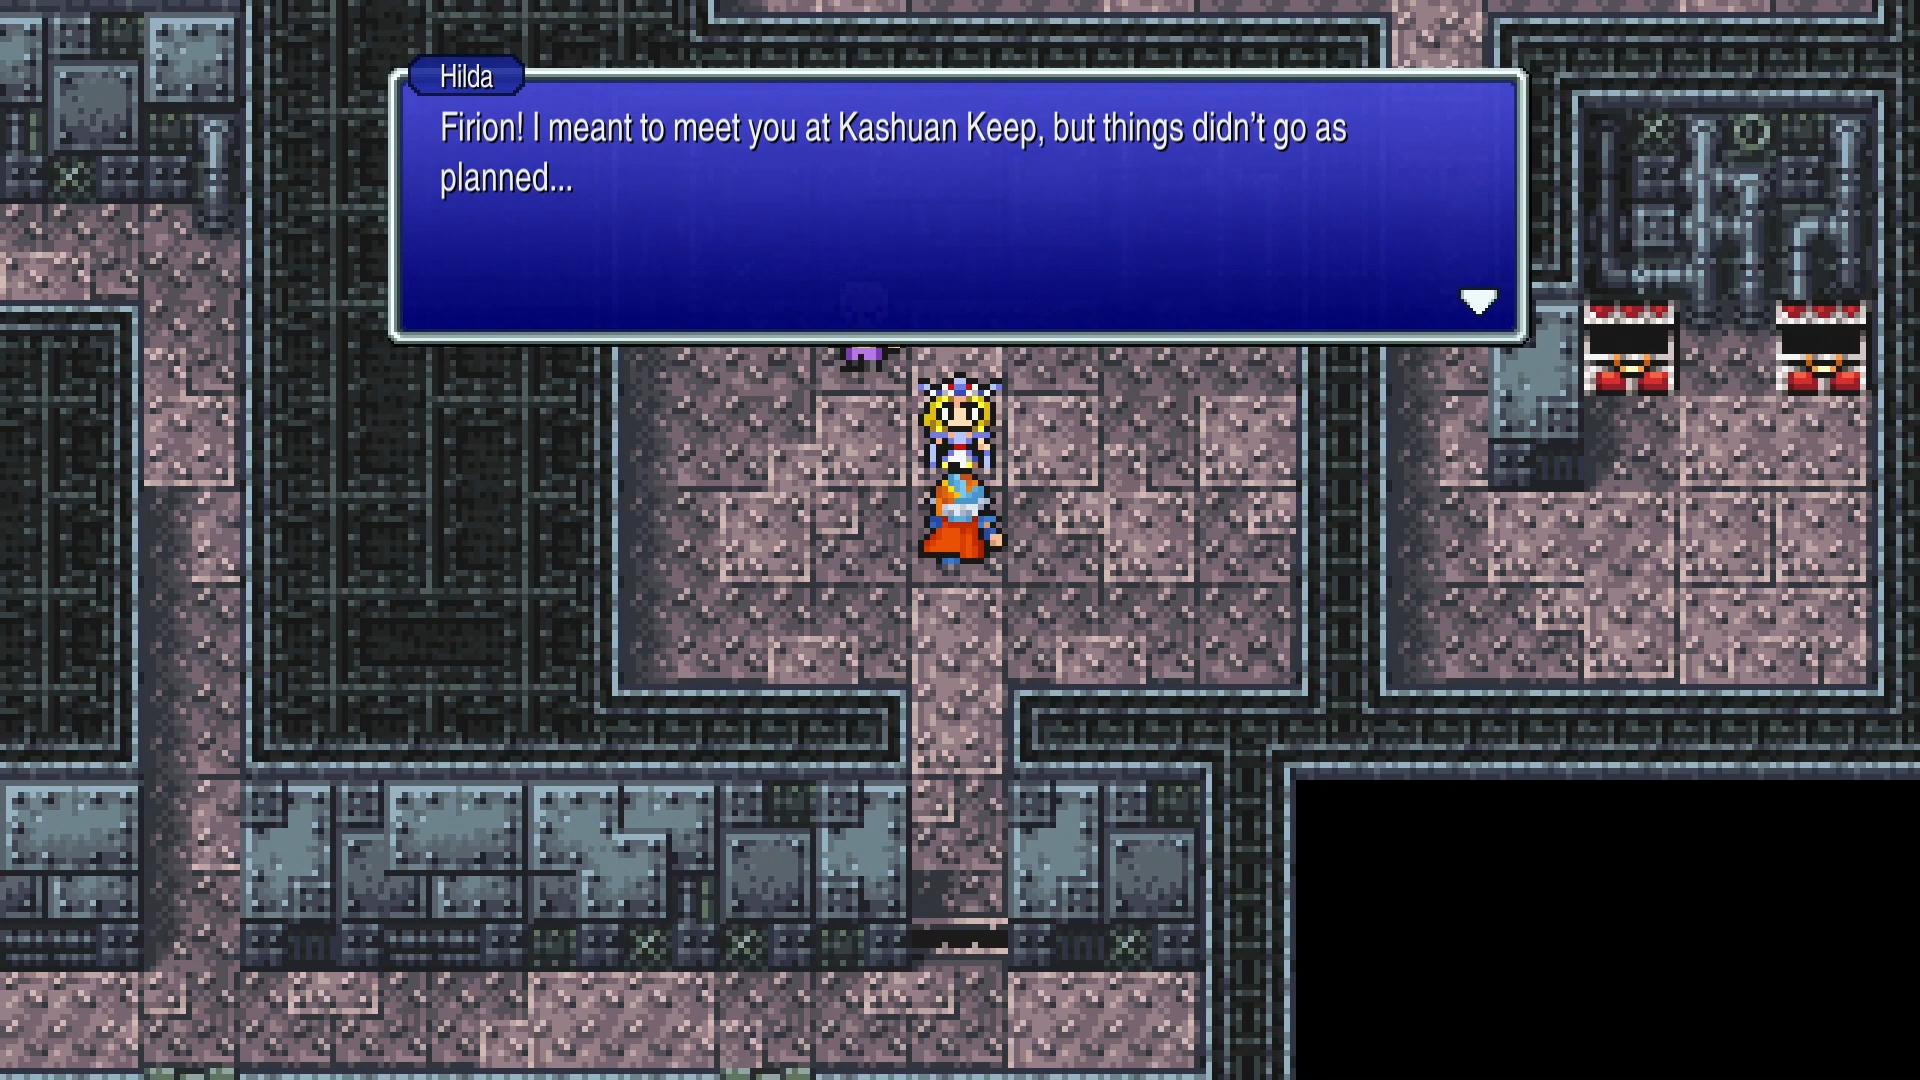
Cid takes Hilda to safety via his private airship. You'll meet up with them at the engine room. Make your way back to 1F.
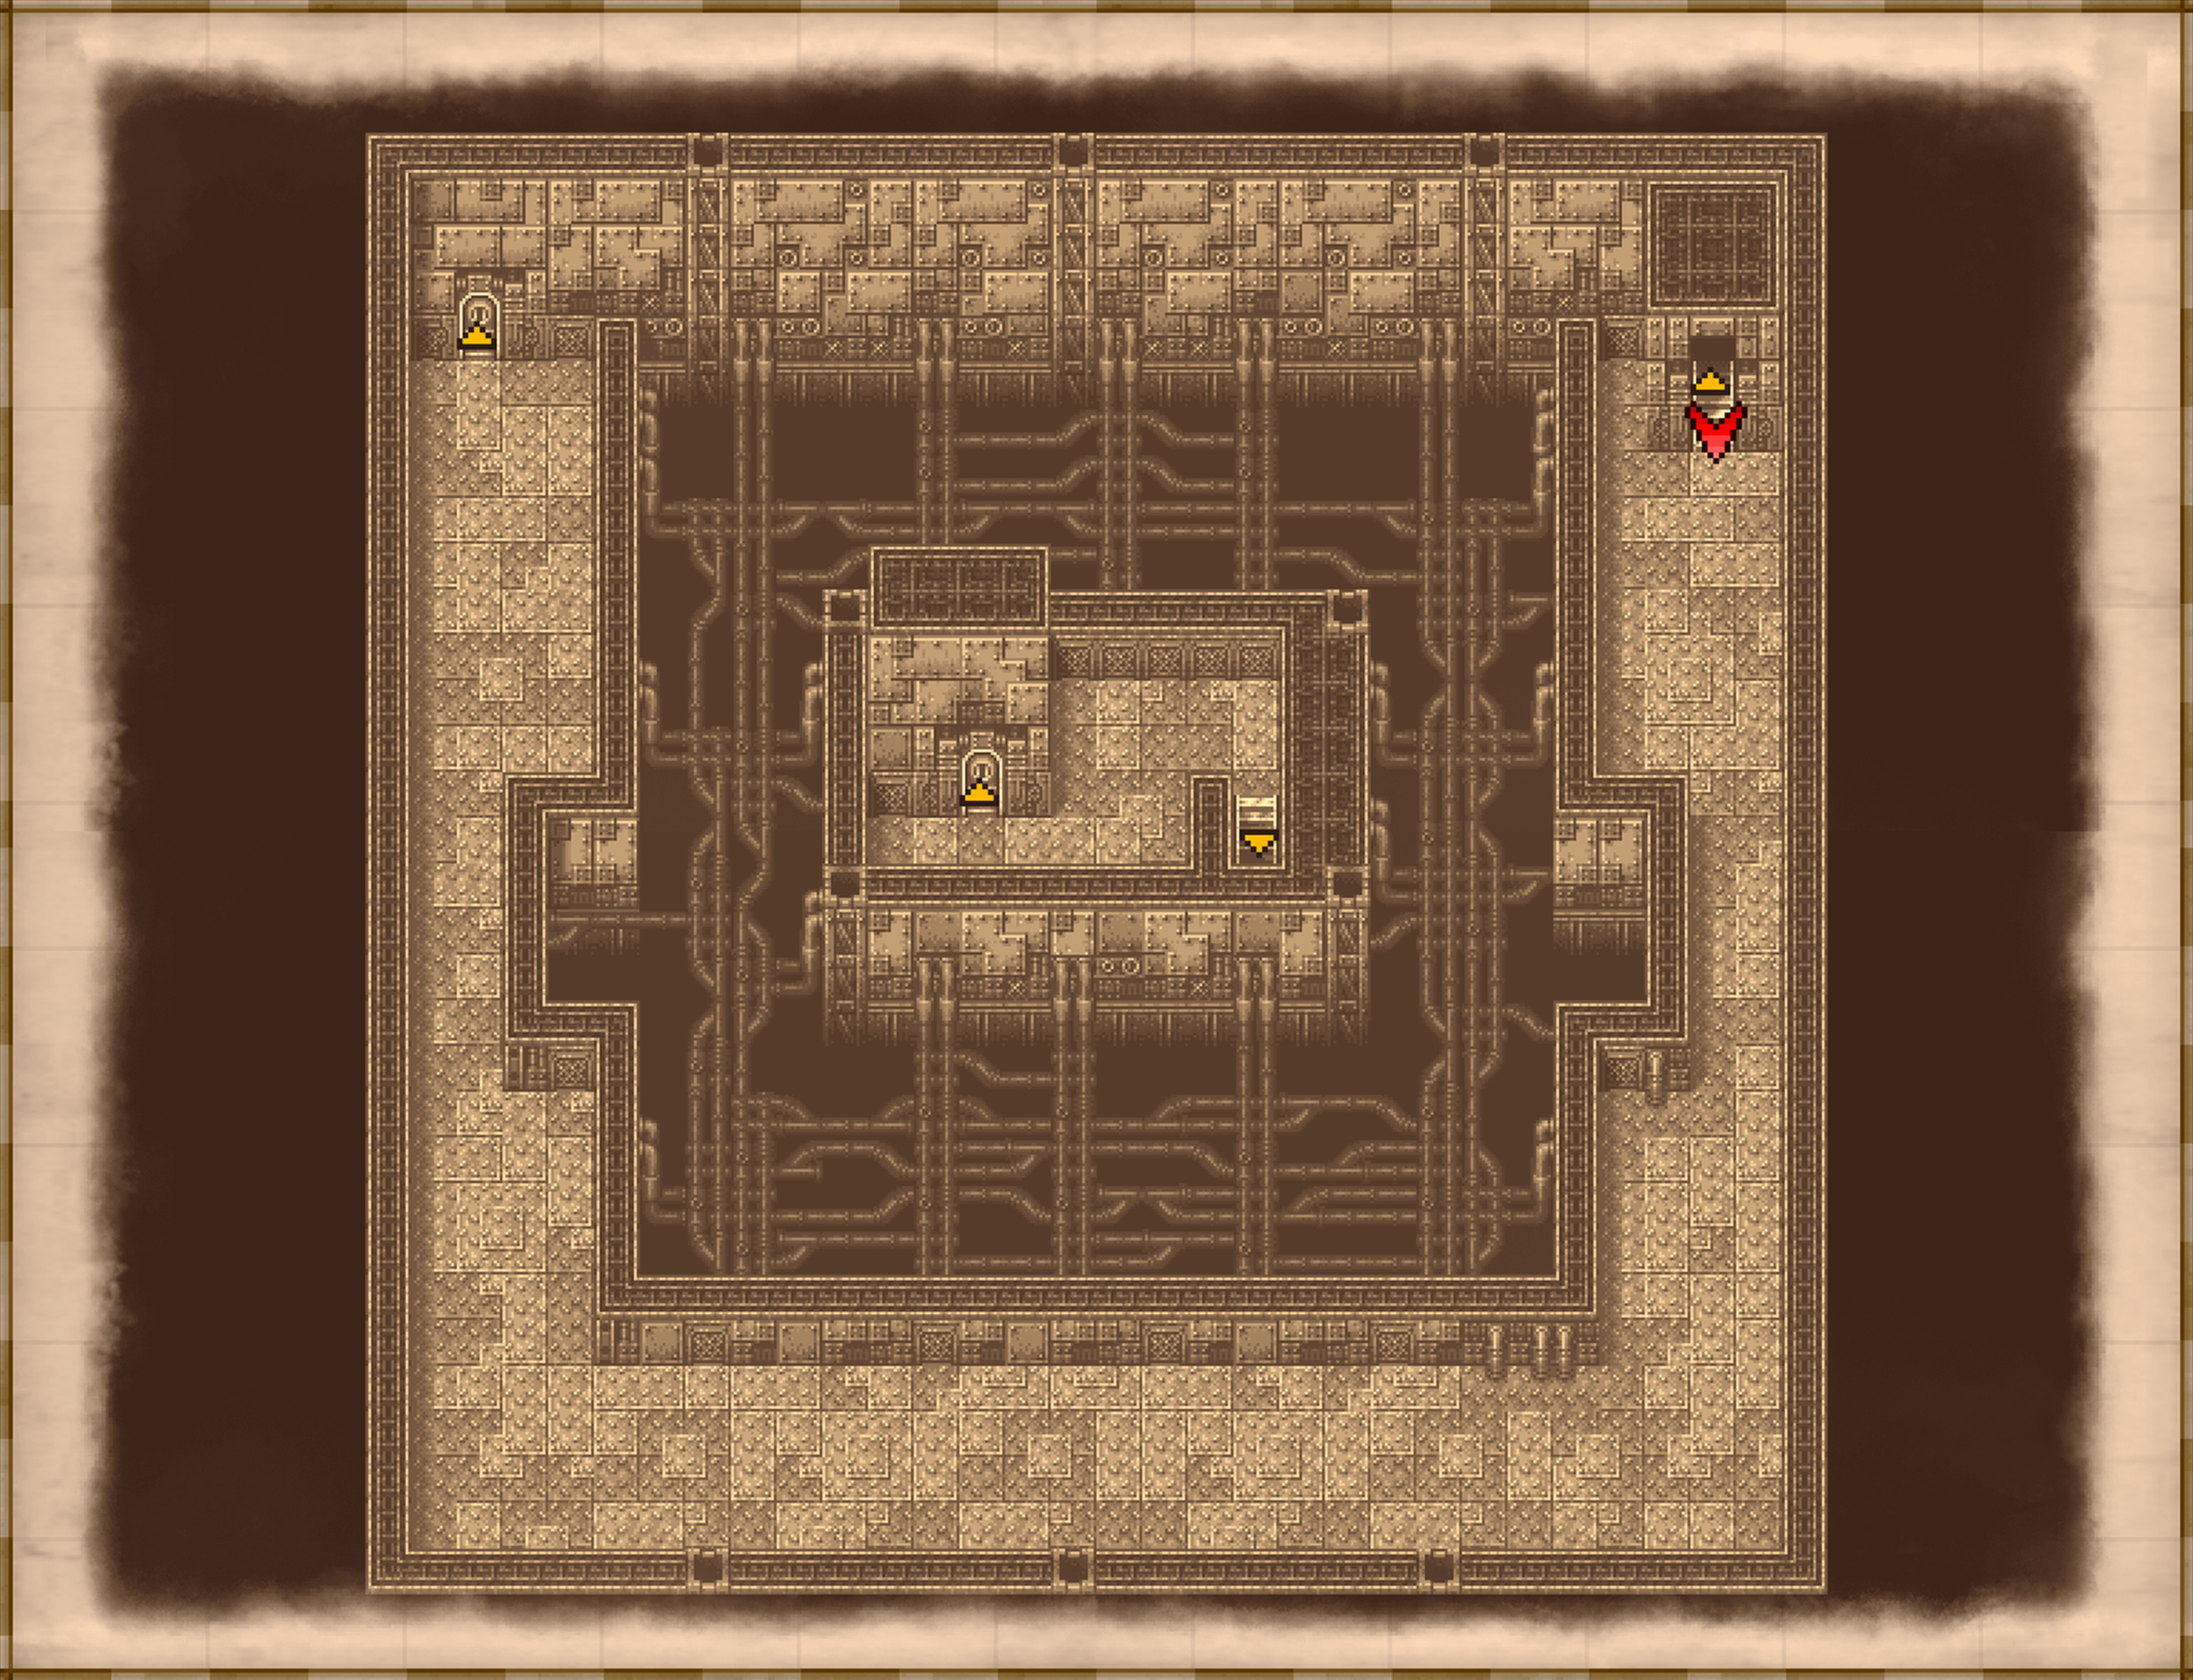
3F. Back on 1F, go south to the stairs leading to 3F. Follow the path around to the door and continue downstairs.
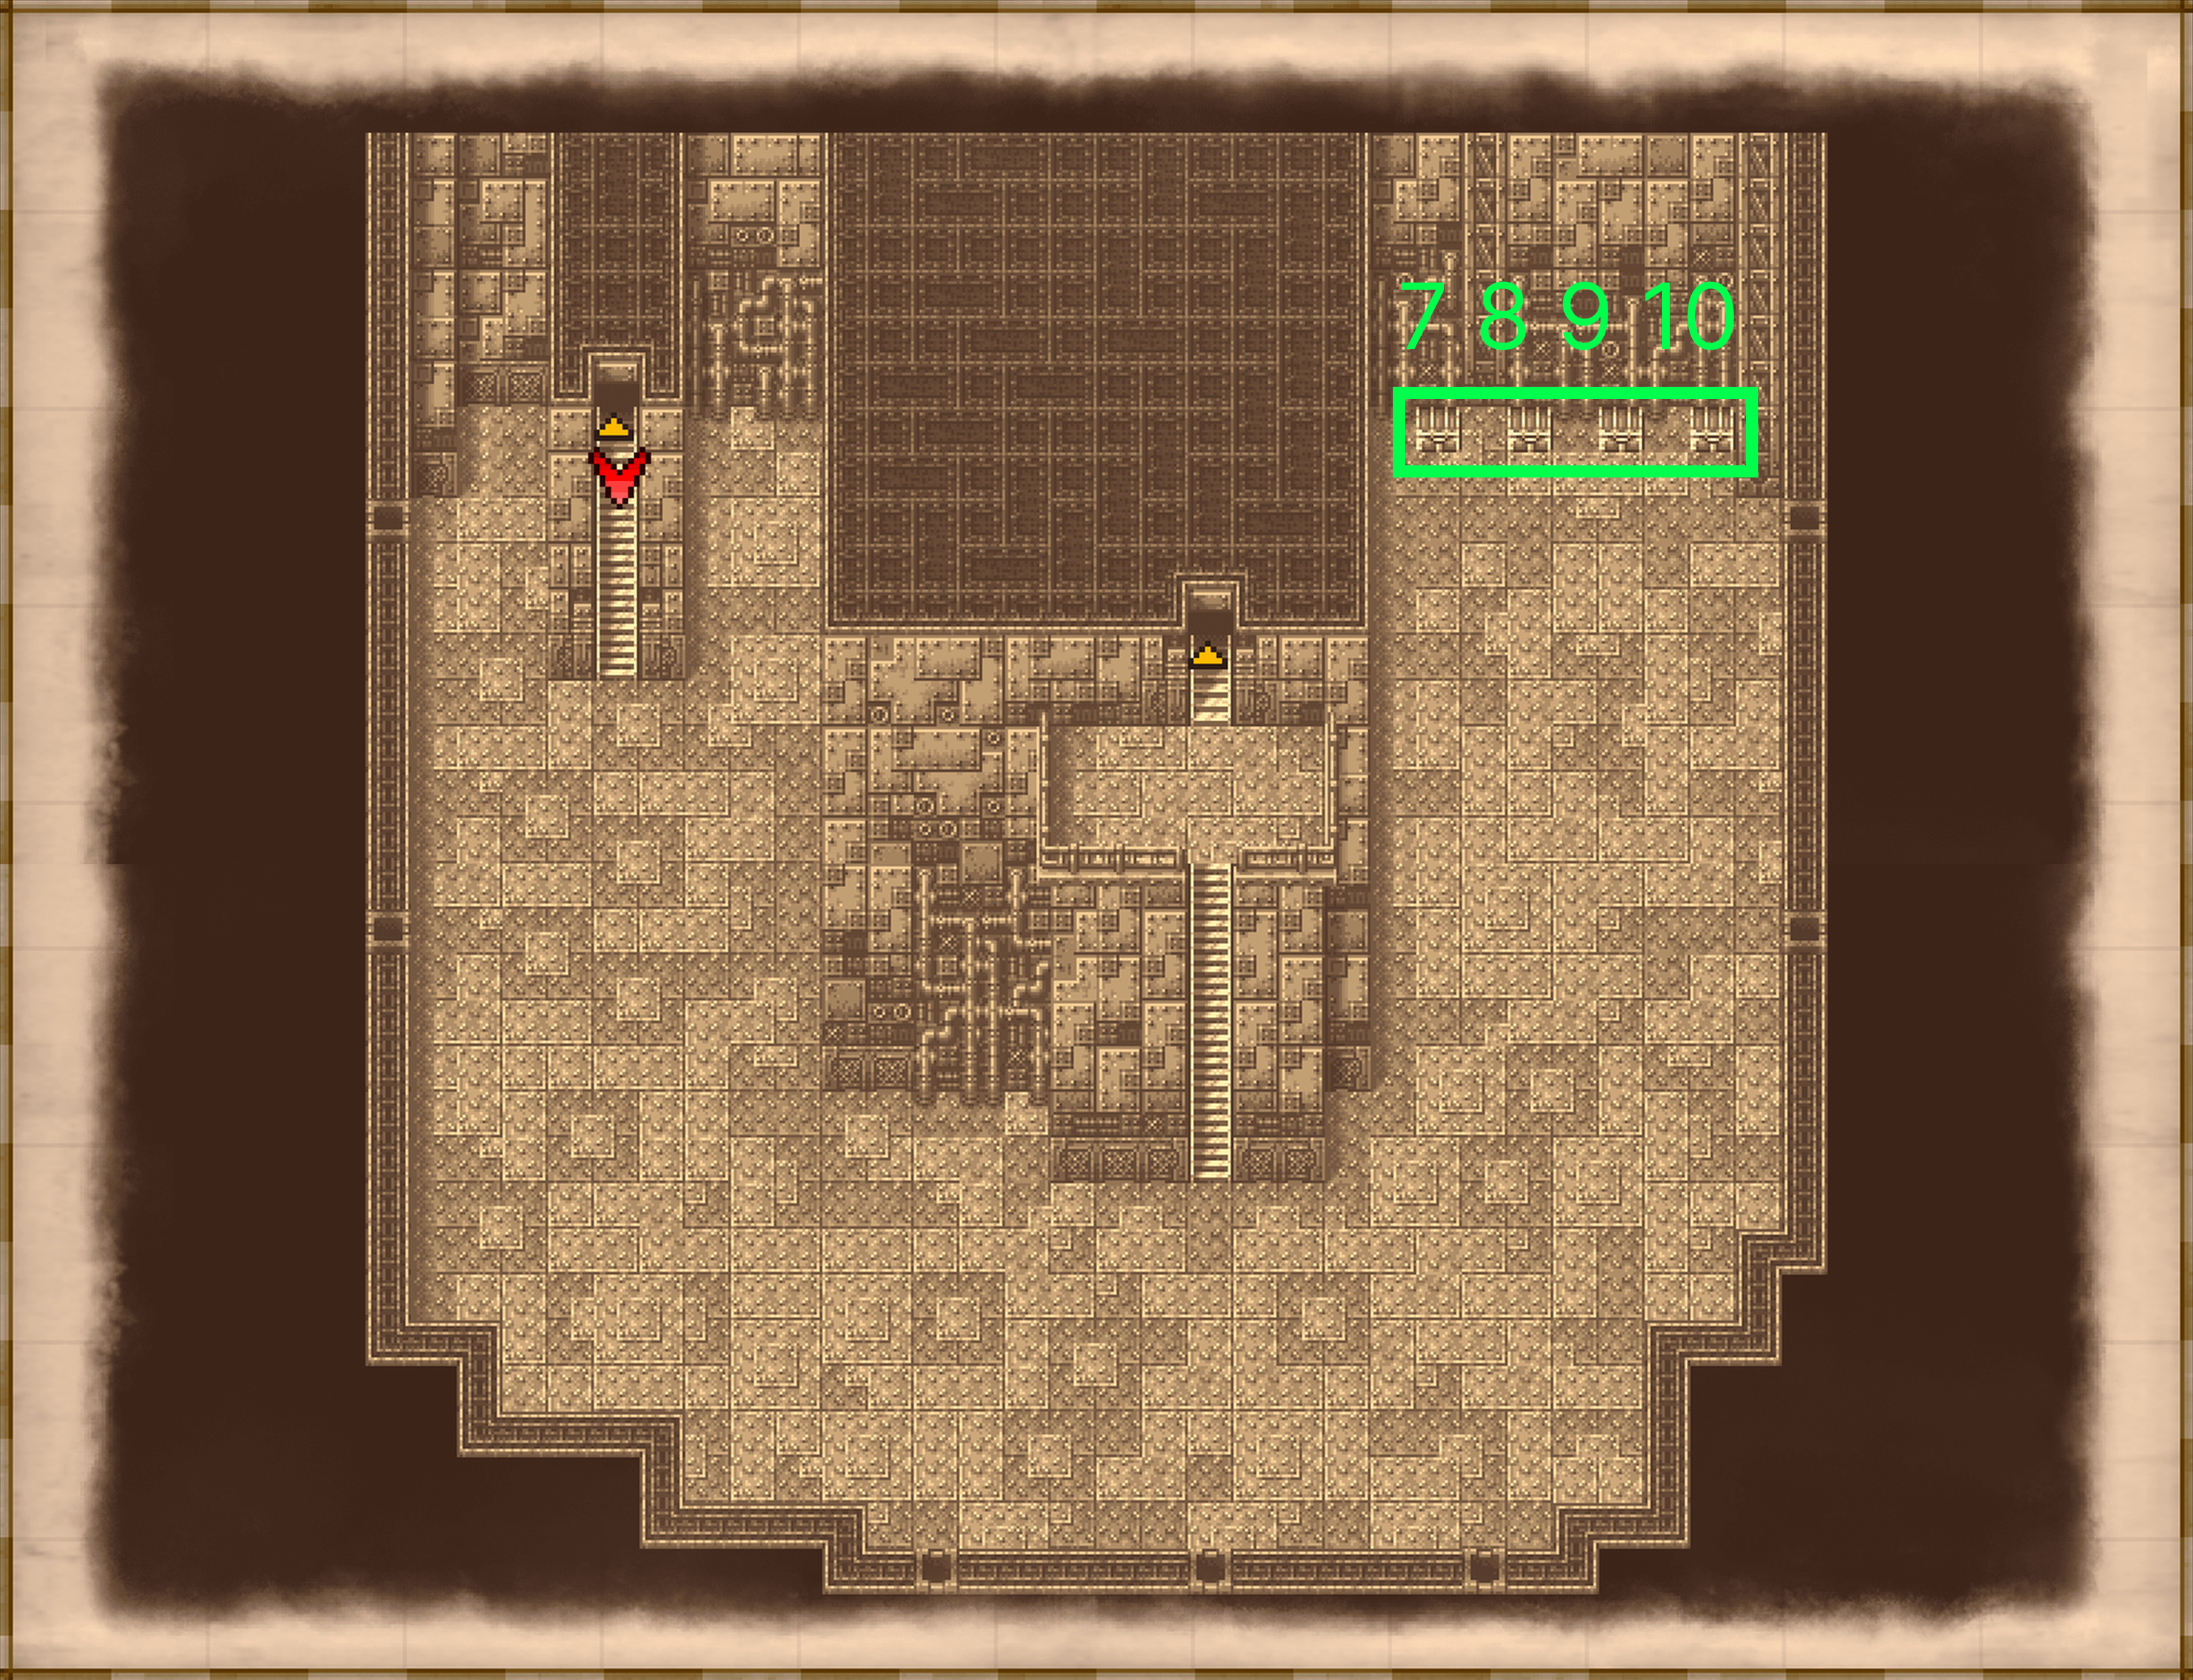
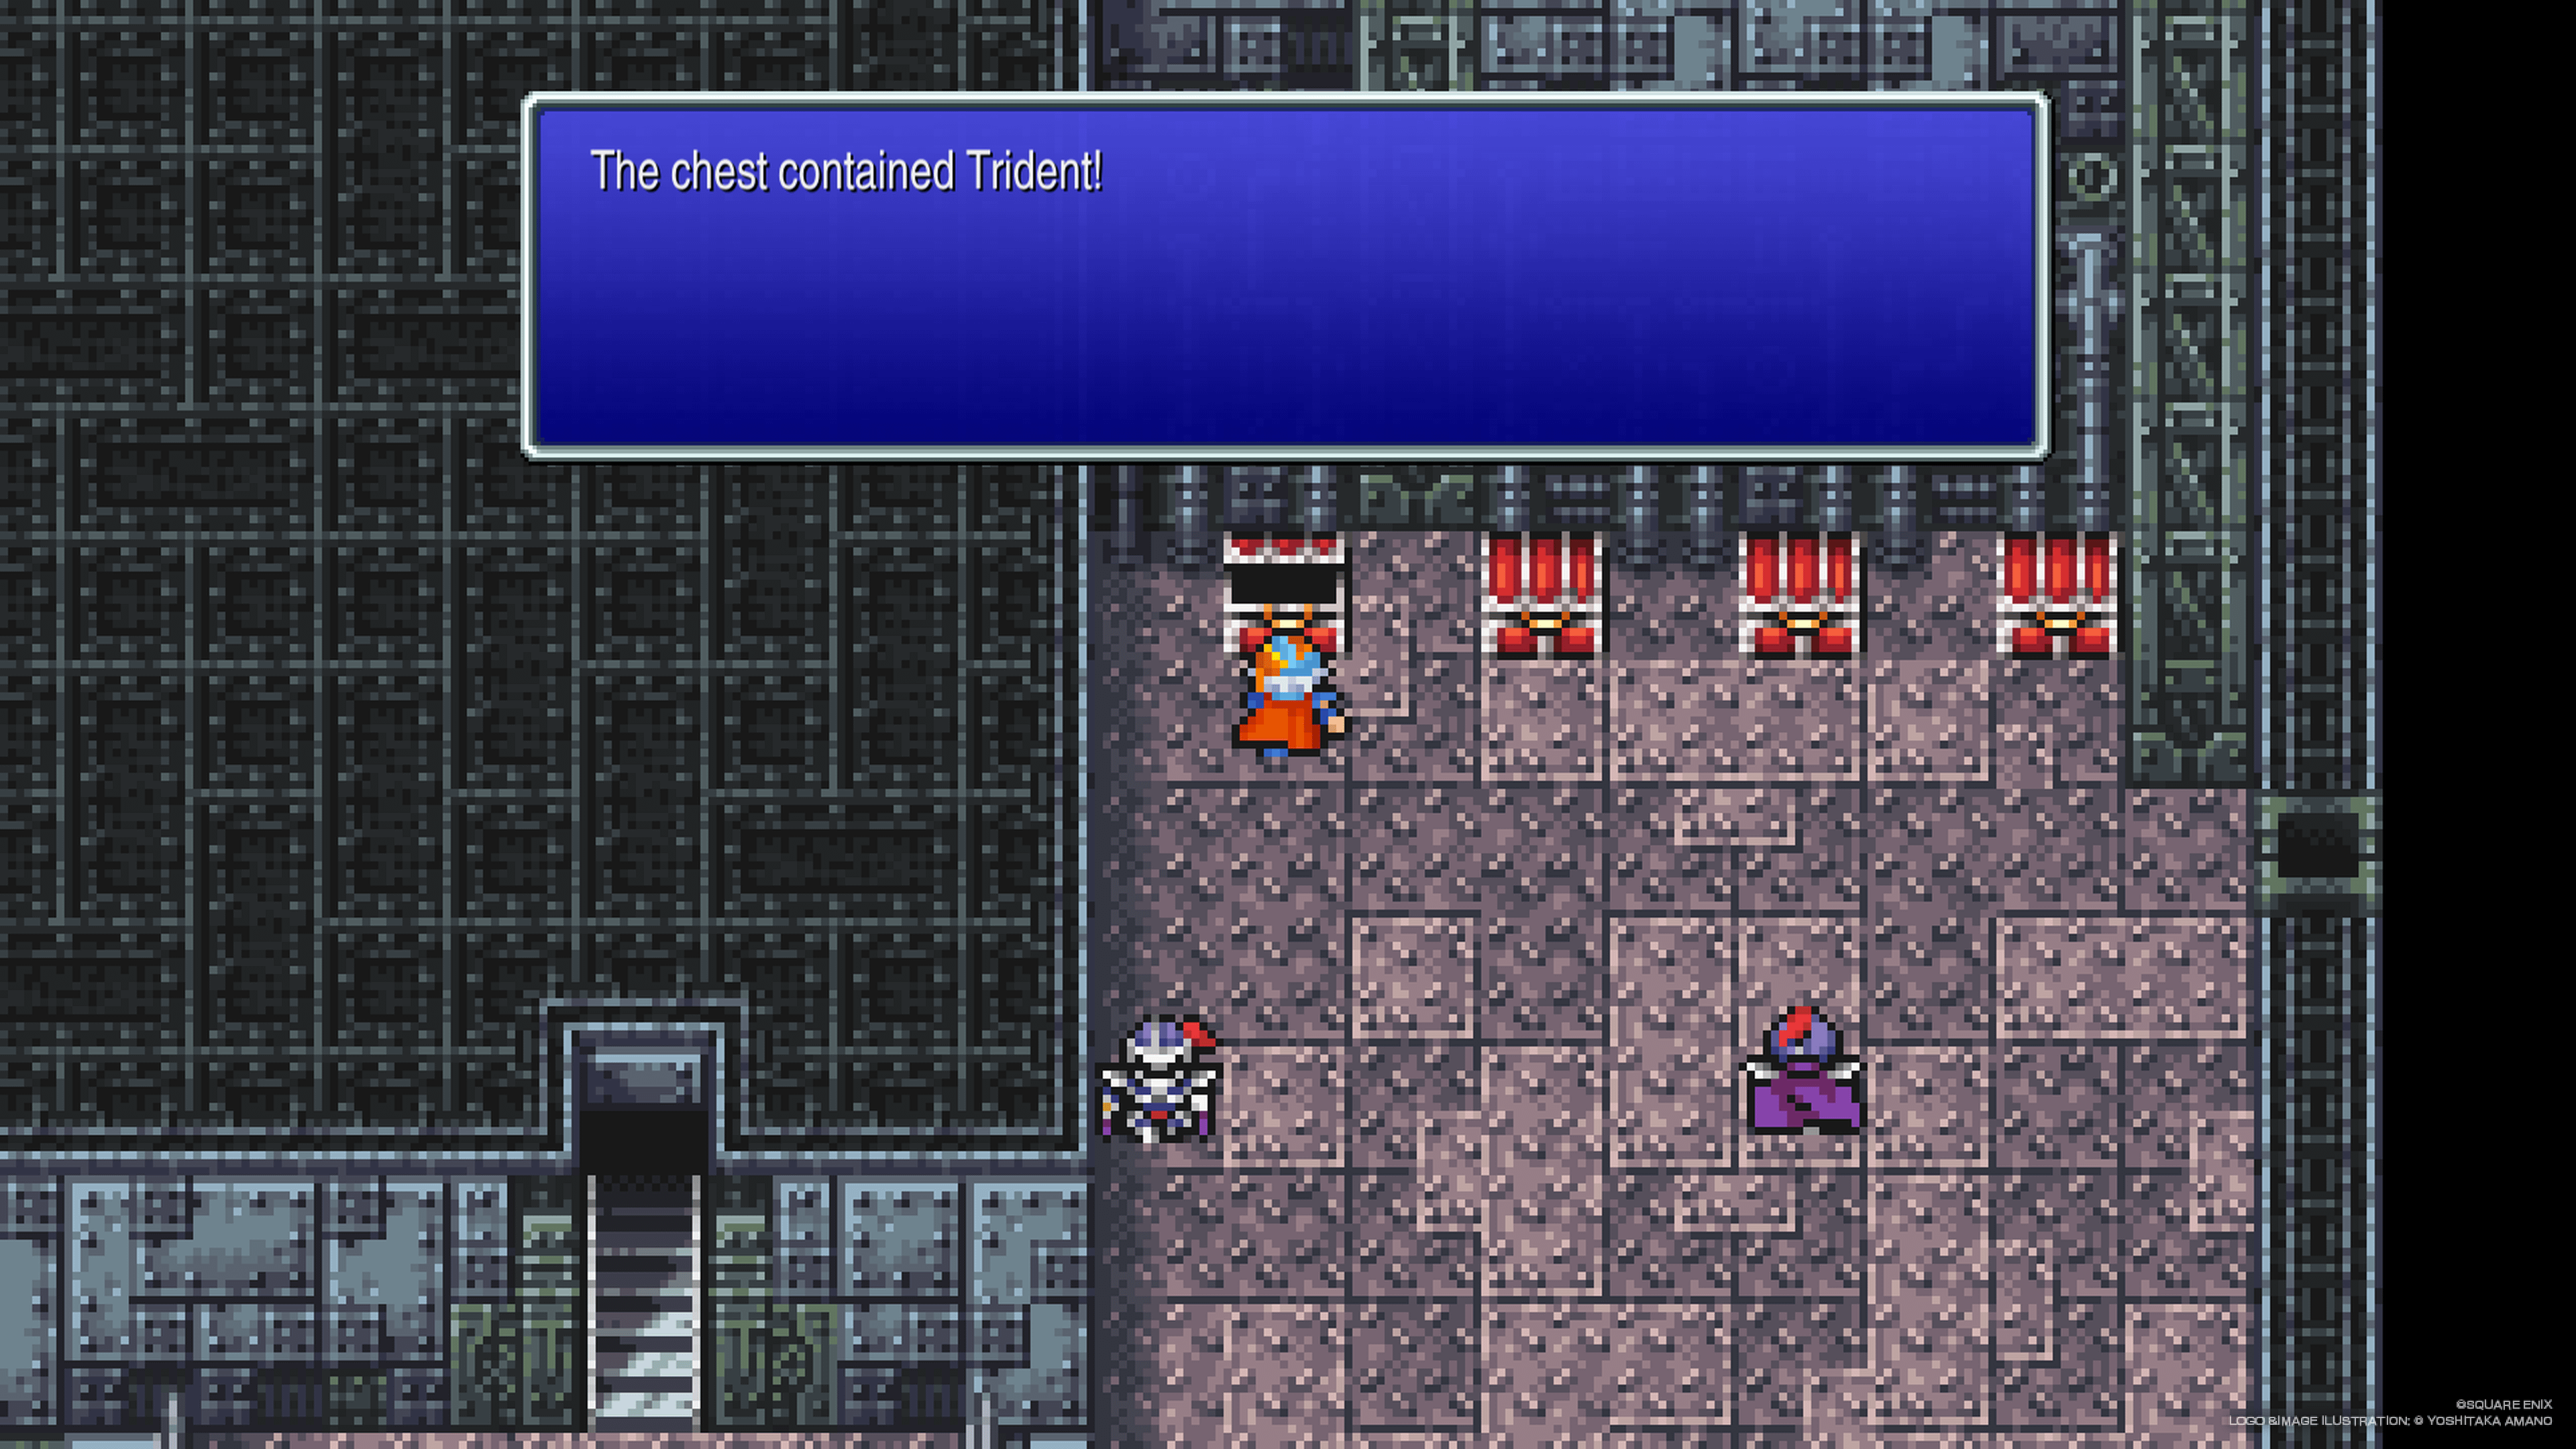
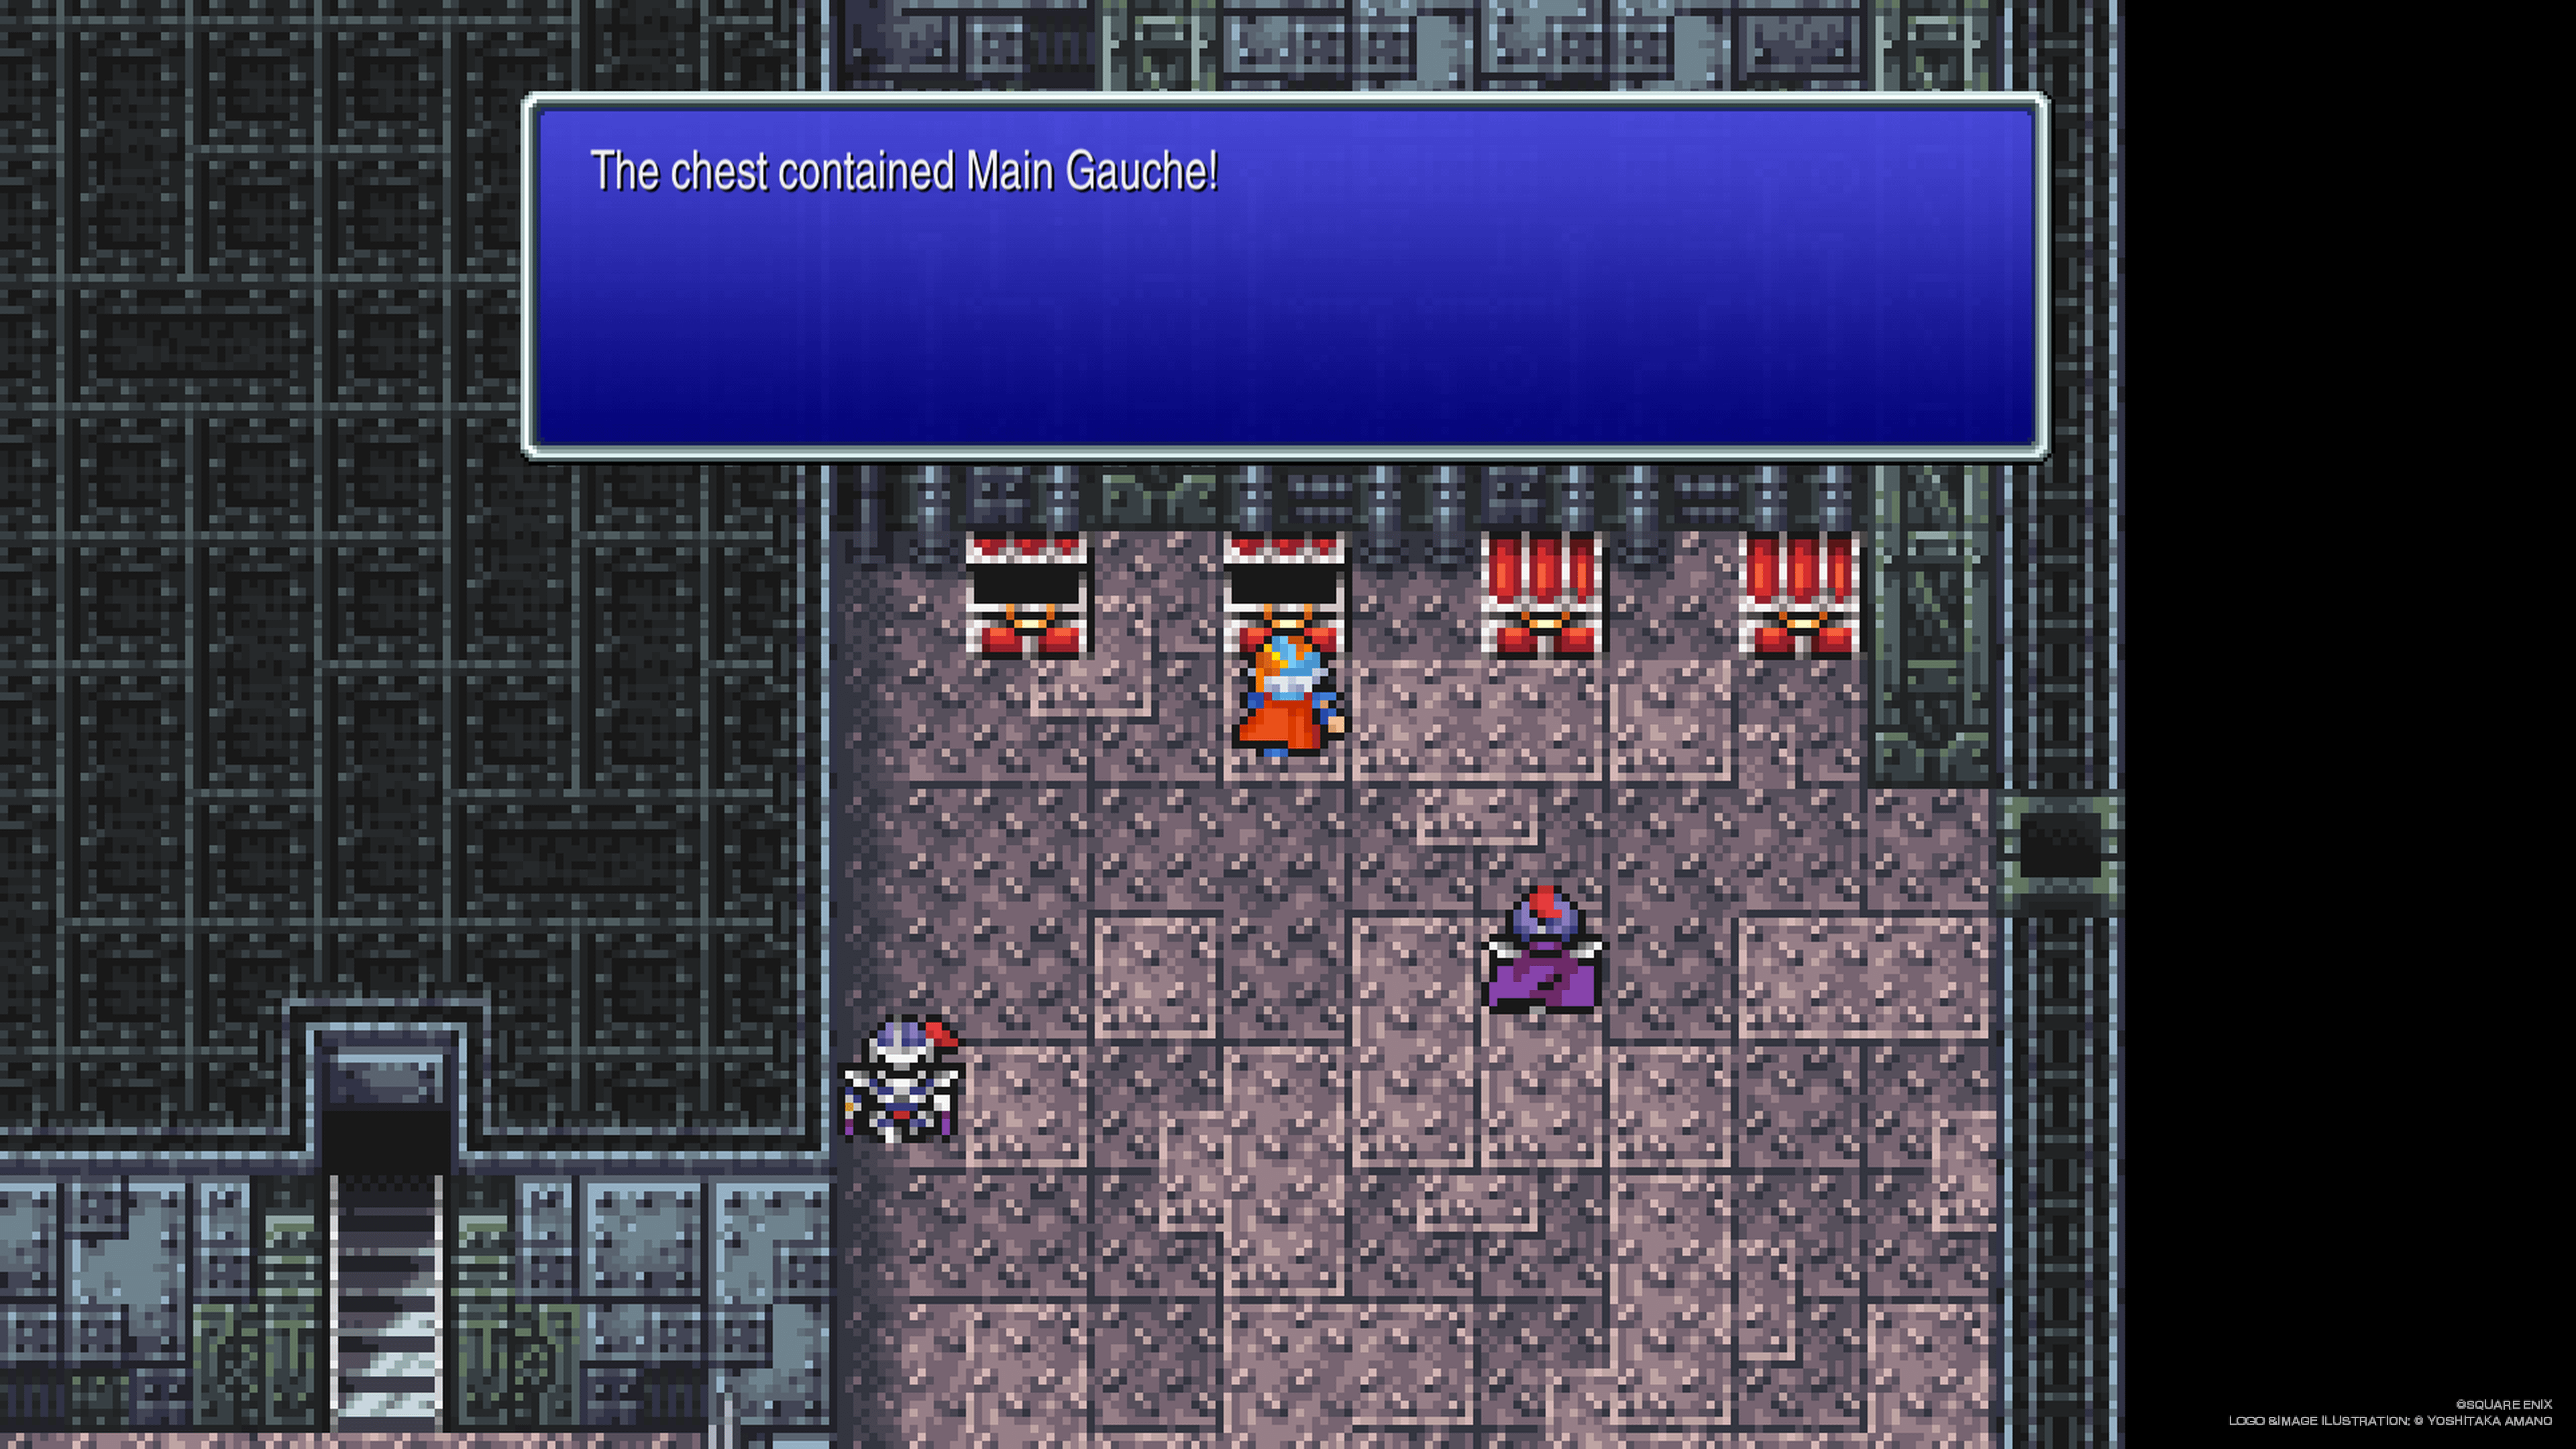
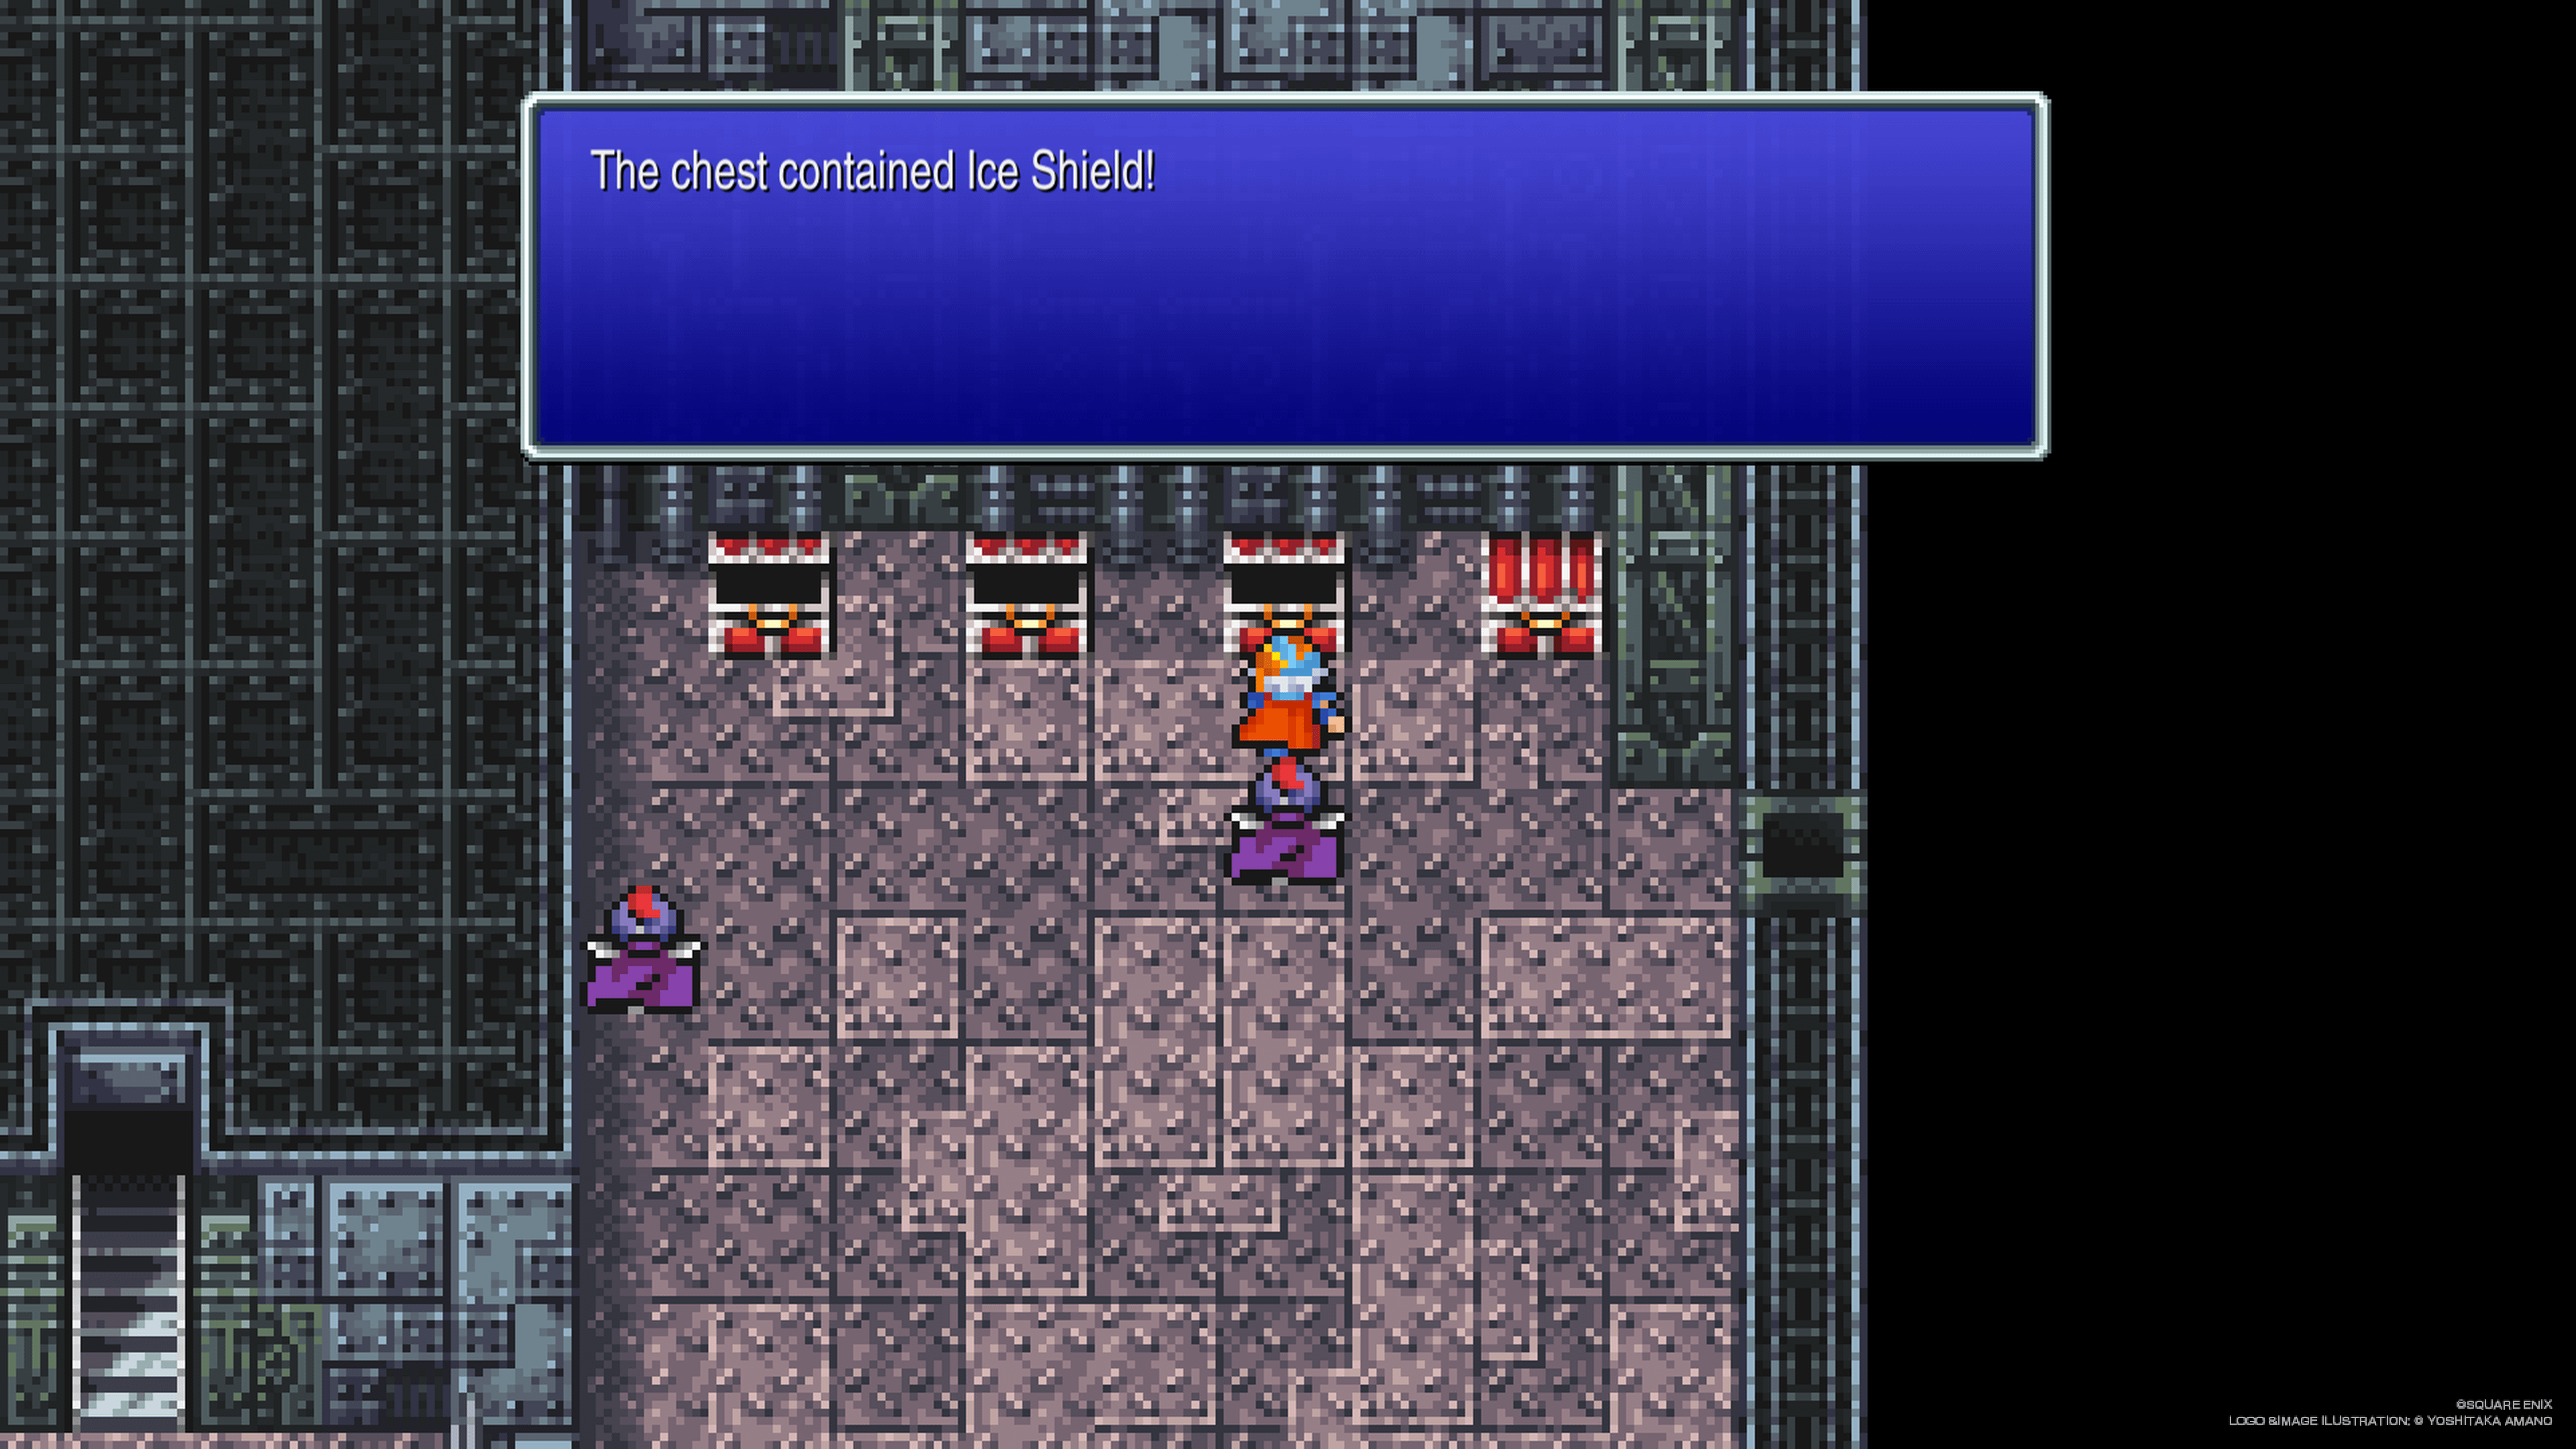
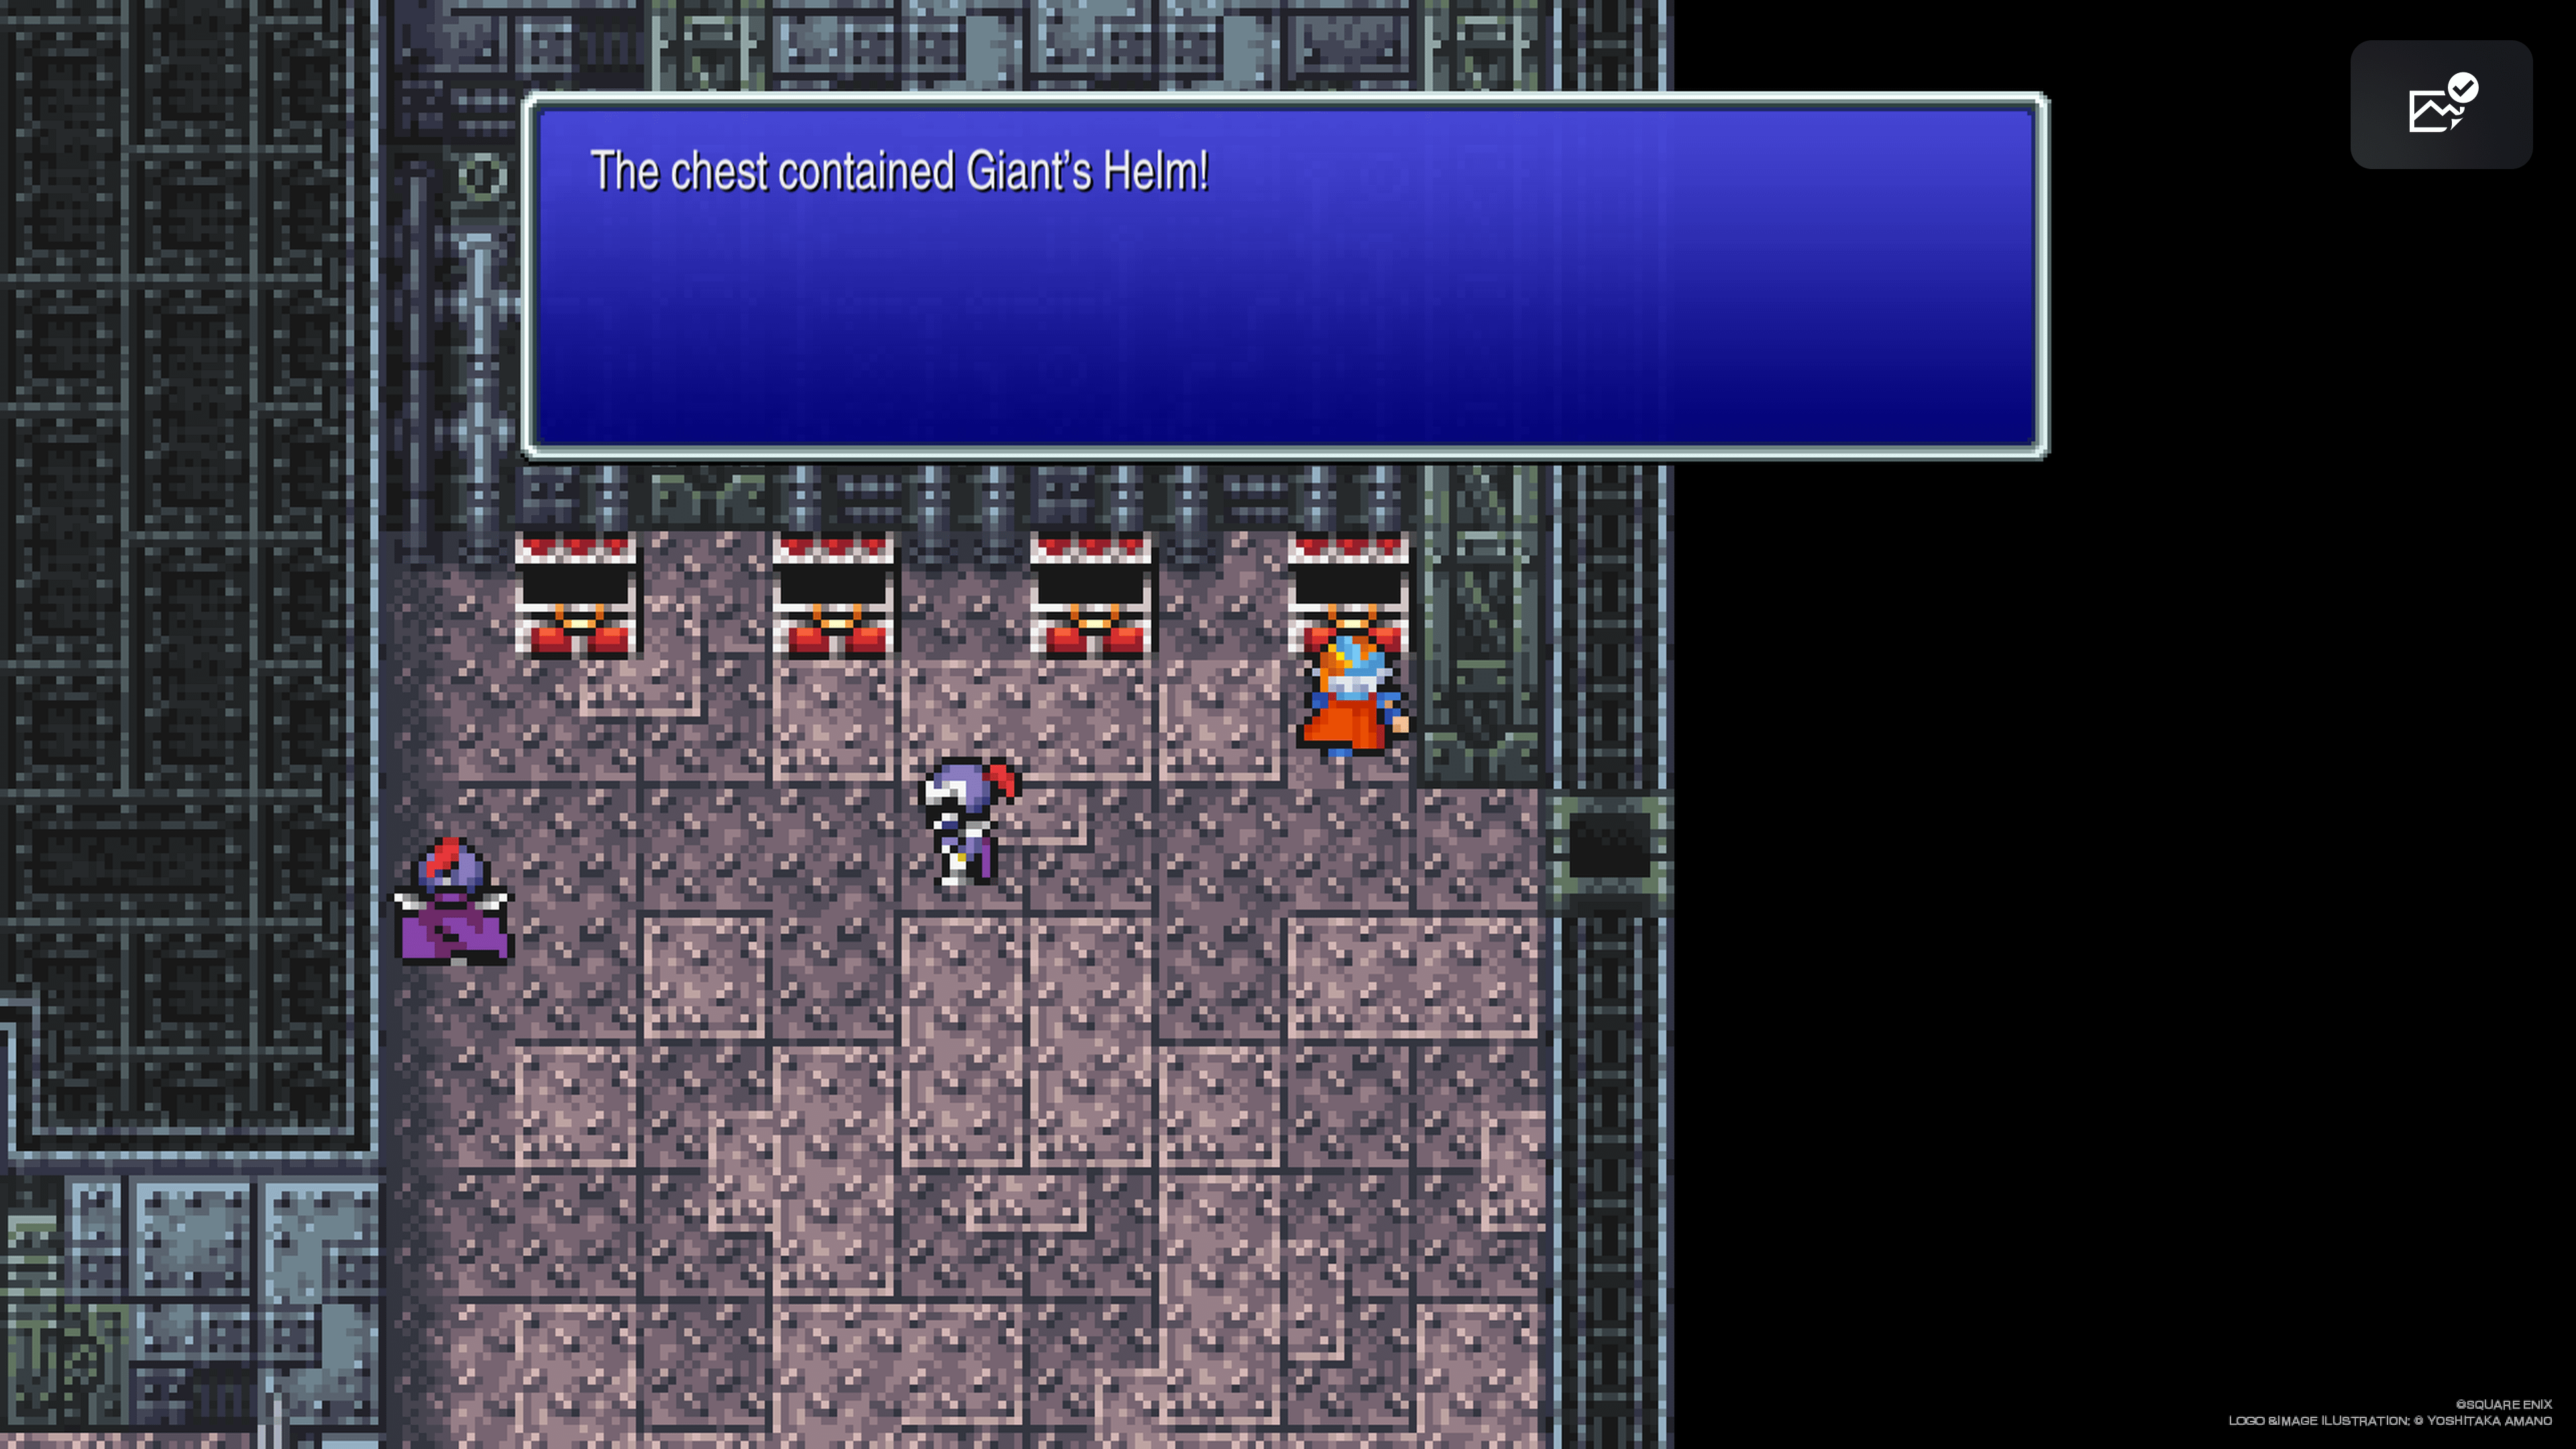
4F. Follow the path to the top right corner. Four chests here: Trident, Main Gauche, Ice Shield (monster chest), and Giant's Helm. Head to the middle and go up the stairs. Follow the stairs and doors to 5F.
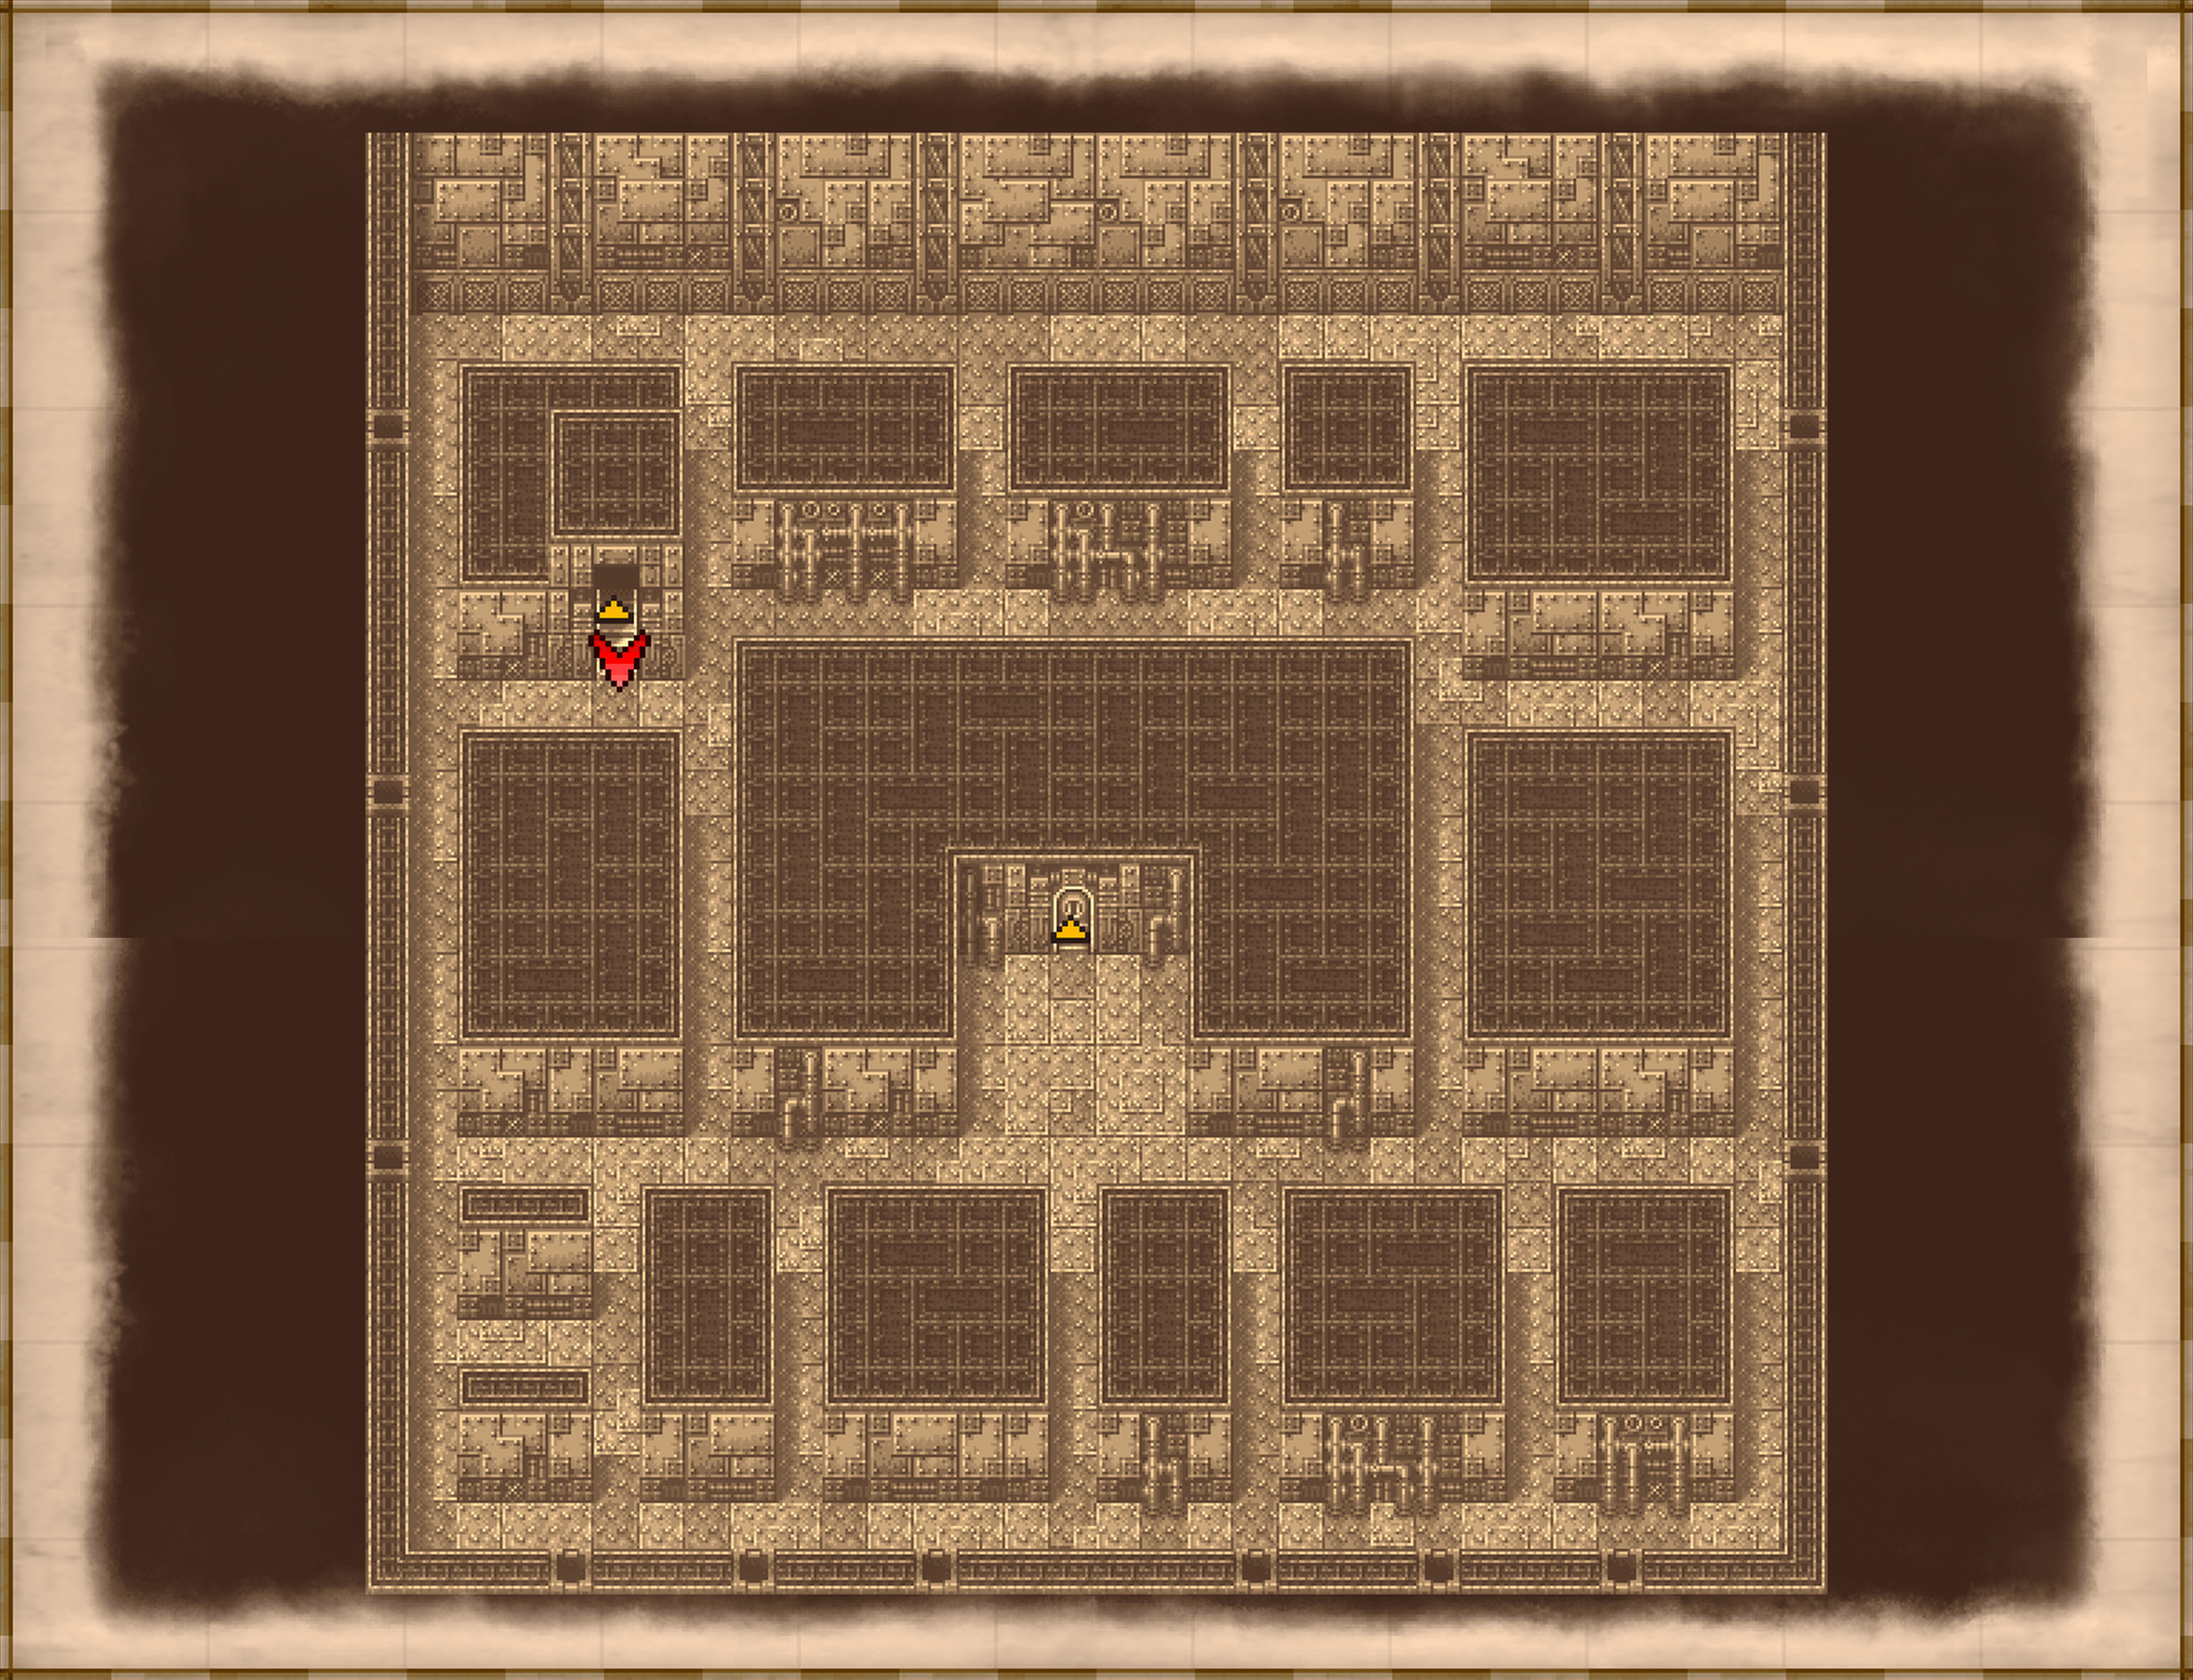
5F (Engine Room). A maze with guards patrolling. Go right and up, then left and follow the path around the room. Weave through corridors to reach the door at the top.
Destroying the Engine
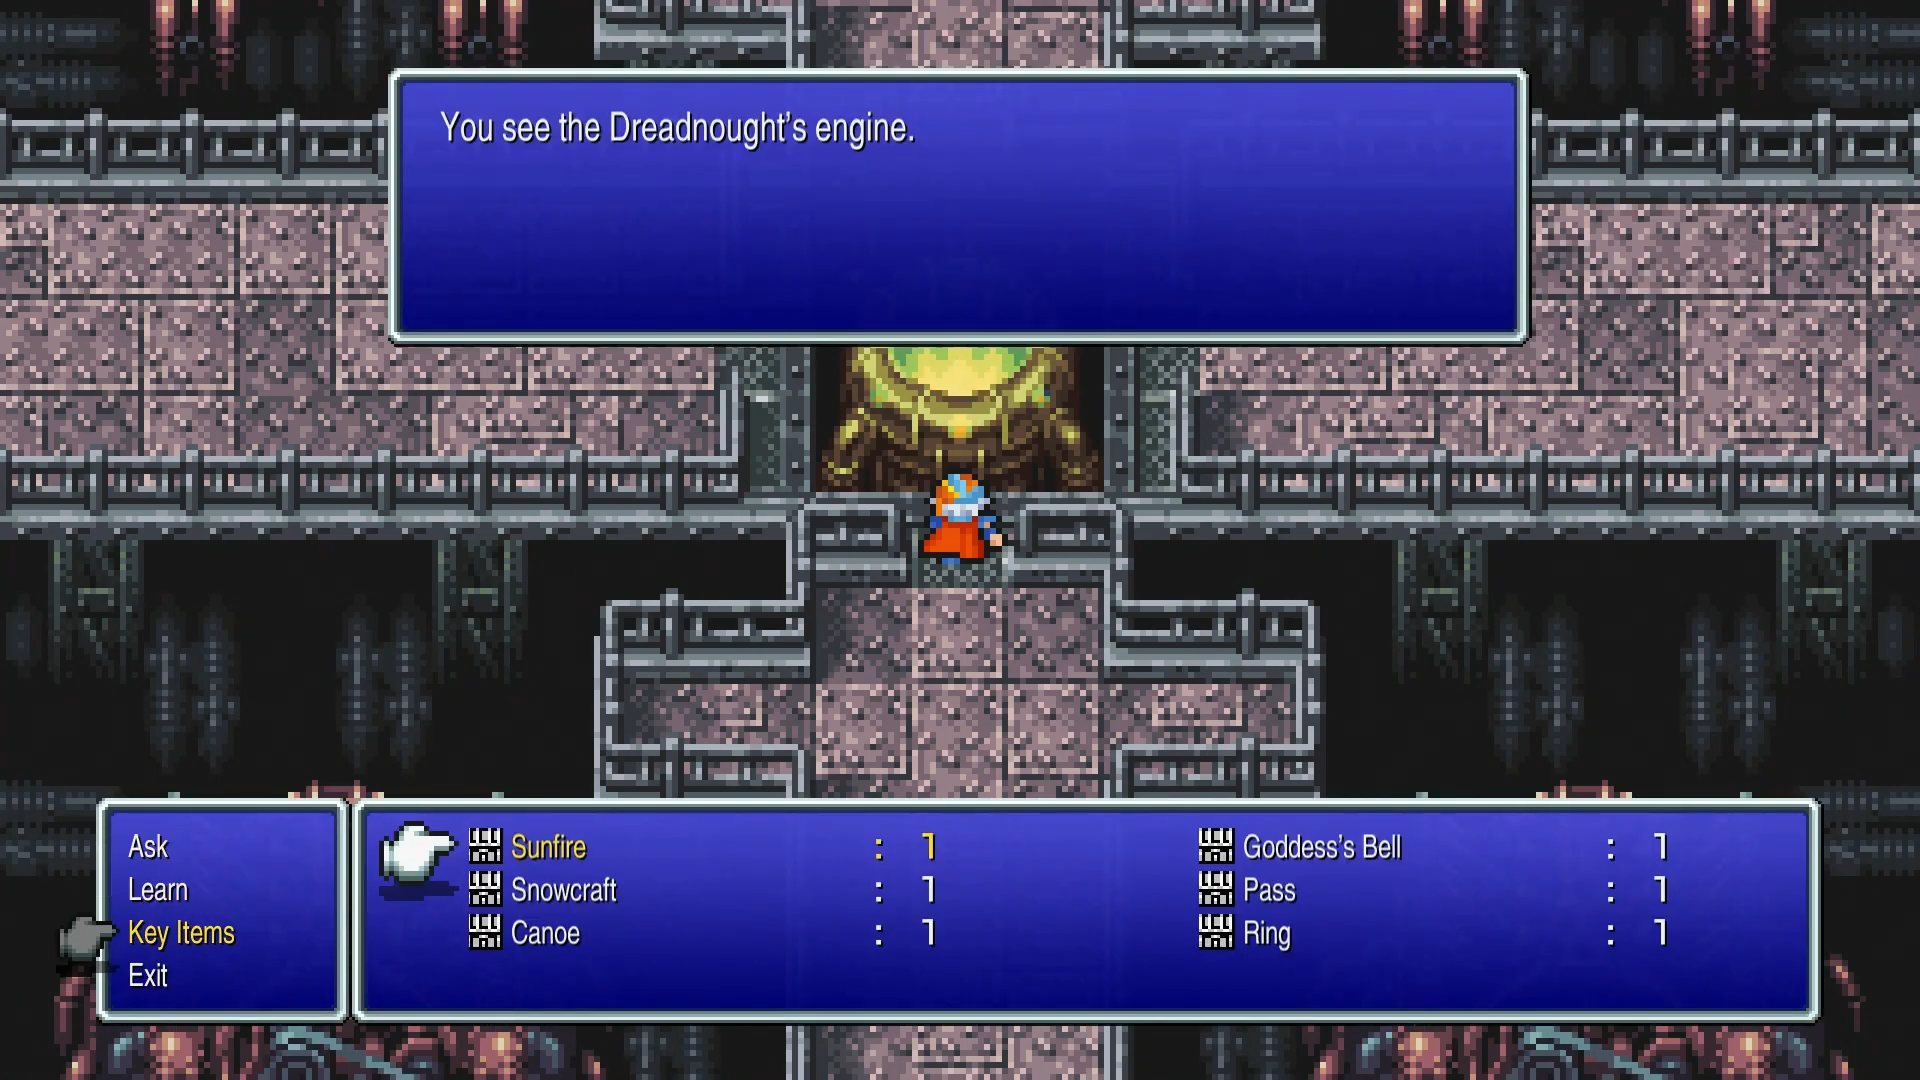
Open your inventory and select the Sunfire. The engine ignites. Cid leads your party to his private airship. You escape as the Dreadnought crashes.
Your party escapes in an airship that takes you straight back to Altair.
Enemy Encounters
21
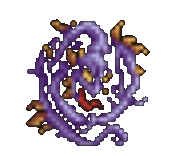
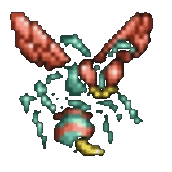
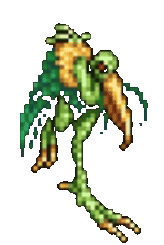
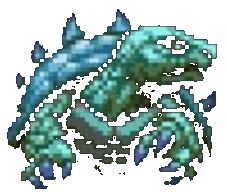
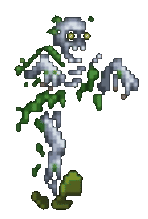
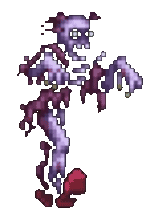
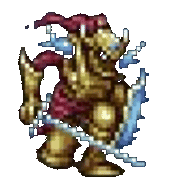
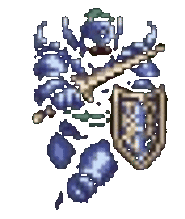
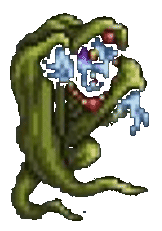
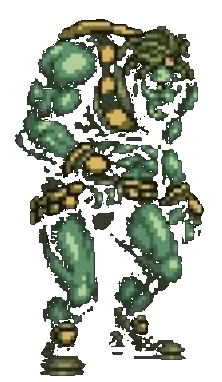
Enemies encountered this chapter:
Treasure Chests
10
All 10 chests are accessible during your visit. All chests are permanently missable since the dungeon is destroyed after completing it.
| Item | Location | Image |
|---|---|---|
600 Gil | 1F, top left corner | |
Sleep Blade | 1F, through wall passage (monster chest) | |
Hi-Potion | 2F, right path | |
Potion | 2F, right path | |
Dark Bow | 2F, bottom left corner | |
Thief's Gloves | 2F, before the gate | |
Trident | 4F, top right room | |
Main Gauche | 4F, top right room | |
Ice Shield | 4F, top right room (monster chest) | |
Giant's Helm | 4F, top right room |
